
What to do about soft crumbling grout?
Update 2018-10-10
Grout is used to fill the joints between tiles and to help create a smooth, attractive surface that is both water resistant and easy to maintain. If, however, the grout is crumbling, powdery or falling out, it can’t perform these tasks and will be ineffective.
It is important to fix a grout issue immediately, especially in areas where there is a risk of water penetrating the joints and causing damage to the substrate or building structure.
What can cause the problem?
The main cause of grout becoming crumbly or powdery is poor mixing and/or application.
When mixing cement based grout with water a chemical reaction known as ‘hydration’ is put into action. It is this reaction that causes the grout to transform from a thick paste into a hard tile joint. Therefore, if too much or too little water is used when mixing the grout, the grout will not cure (dry) properly and be soft and friable (powdery).
Grout installation tips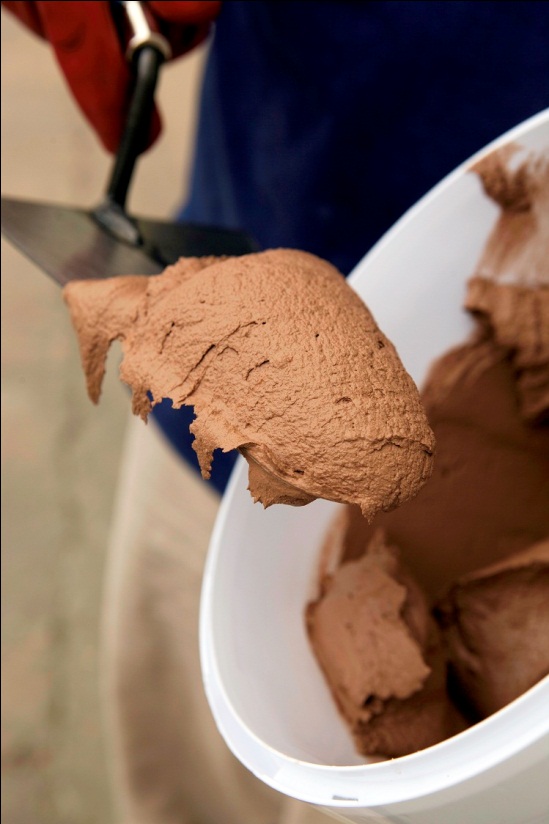
- Follow the instructions on the grout packaging for the correct mix ratio.
- Add the grout to the stipulated amount
of clean, cool water whilst mixing. Too much water in the mix can
cause colour variations in the grout
joints (patching of colour) and can also result in a soft, powdery finish. - Mix it well to form a creamy, lump-free consistency.
- If using TAL Wall & Floor Grout, add 5kg of grout to 1.5 litres of
clean, cool water. - Note that all exterior/exposed and ‘wet’ applications require the water
in the mix to be replaced with TAL Bond,
a latex additive that improves the water resistance,
flexibility and bond strength of the grout. Alternatively, TAL Bond Powder may be added to the adhesive mixing water, at a ratio of 1 x 1kg sachet per 20kg tile adhesive. - When applying the grout, ensure that the tiles are dry and free of dust.
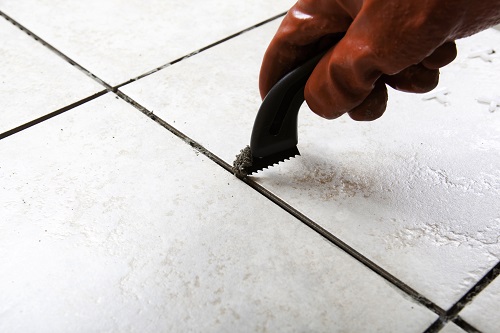
- The joints must be raked out and
cleaned before grouting. - Apply the grout with a grout squeegee, one square metre at a time.
- Work the grout into the tile joints. Note that it is important to fill
the joints completely and to compact the grout into the joints so
that there are no voids (air pockets). - Wipe off excess grout from the face of the tiles and smooth the
surface of the grout with the squeegee.
It is important to clean off excess grout from the face of the tiles with a damp grouting sponge before it hardens completely. Rinse the sponge frequently in clean water to get rid of the grout, but remember to use a damp, not wet, sponge. If the sponge is too wet during this phase the mix will become overhydrated and become soft and crumbly when cured. Subjecting the freshly applied grout to mopping and washing before it has cured/dried properly will also cause this problem. Wait for at least 24 hours.
What can be done if the grout application failed?
The only way to rectify this problem is to scrape out the grout and to completely replace it – which can be done by using a grout rake or remover. Once the joints are clean, apply the correctly-mixed grout.
If you are refreshing your tile grout, we recommend using TAL Bond as an additive in the mix. This enhances the grout to make it more flexible, more impervious and easier to clean than standard mixed grout.
[Back]
blog comments powered by Disqus


