
Mosaic tiling tips
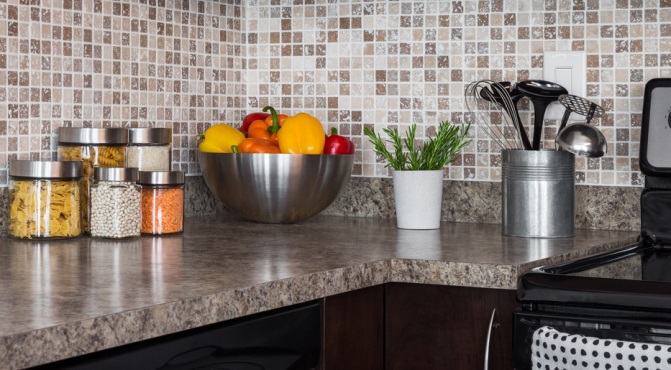
Mosaics add a beautiful decorative element to any area in the home. They are perfect for tiling back splashes or just creating inspired feature walls in a bathroom or kitchen. Mosaics are available in ceramic, porcelain, natural stone and glass in a variety of colours and shapes. Each of these materials have different properties and installation requirements, so it is important to follow the correct installation method and to use the correct adhesive to ensure the longevity of the installation.
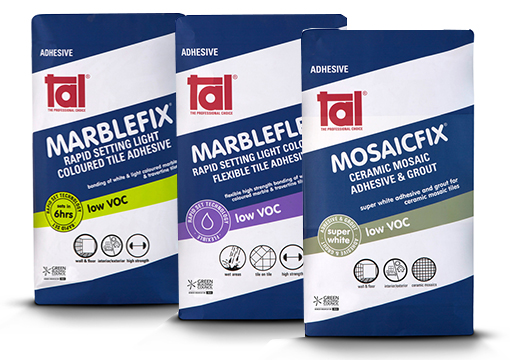
TAL offers a range of adhesives for any mosaic tiling project. TAL Marblefix, a cement-based adhesive, is ideal for the installation of white or light-coloured marble and travertine mosaics – it’s rapid-setting, high strength and shrinkage compensated. This adhesive can also be used with ceramic, porcelain, granite and light-coloured natural stone tiling to walls and floors. TAL Marblefix sets after 6 hours. We also offer TAL Marbleflex, which has similar properties to TAL Marblefix, but is a one-component adhesive which specially caters to water and frost resistance, absorbing vibration and deflecting substrates. TAL Mosaicfix is a super white standard-setting cement based powder adhesive for fixing ceramic mosaics onto walls and floors. This product can also be used in the grouting and pre-grouting of mosaics.
For more information, please click on the links provided. Some products have a reinforcing mesh or resin backing which could be incompatible with some of our cementitious tile adhesives. Feel free to call us for tech support on 0860 000 TAL(825) or for advice on which adhesive to use for your tile installation.
Installation tips for mosaics:
- Not all mosaic materials are suitable for use on floors or other functional areas. The amount of traffic the installation will see will ultimately dictate which materials you can use for your installation.
- Be sure to closely inspect the mosaic sheets, checking for broken or damaged tiles and ensuring that you have sufficient sheets to replace any broken pieces. Replace broken or damaged tiles before installation.
- Get a clean cut mosaic sheet by cutting from the back of the sheet with a utility knife.
- Mosaics are difficult to cut as individual tiles as they’re so tiny, so cut the sheets between the tiles.
- A consistent amount of adhesive is important under mosaic tiles since their small size tends to accentuate irregularities, we
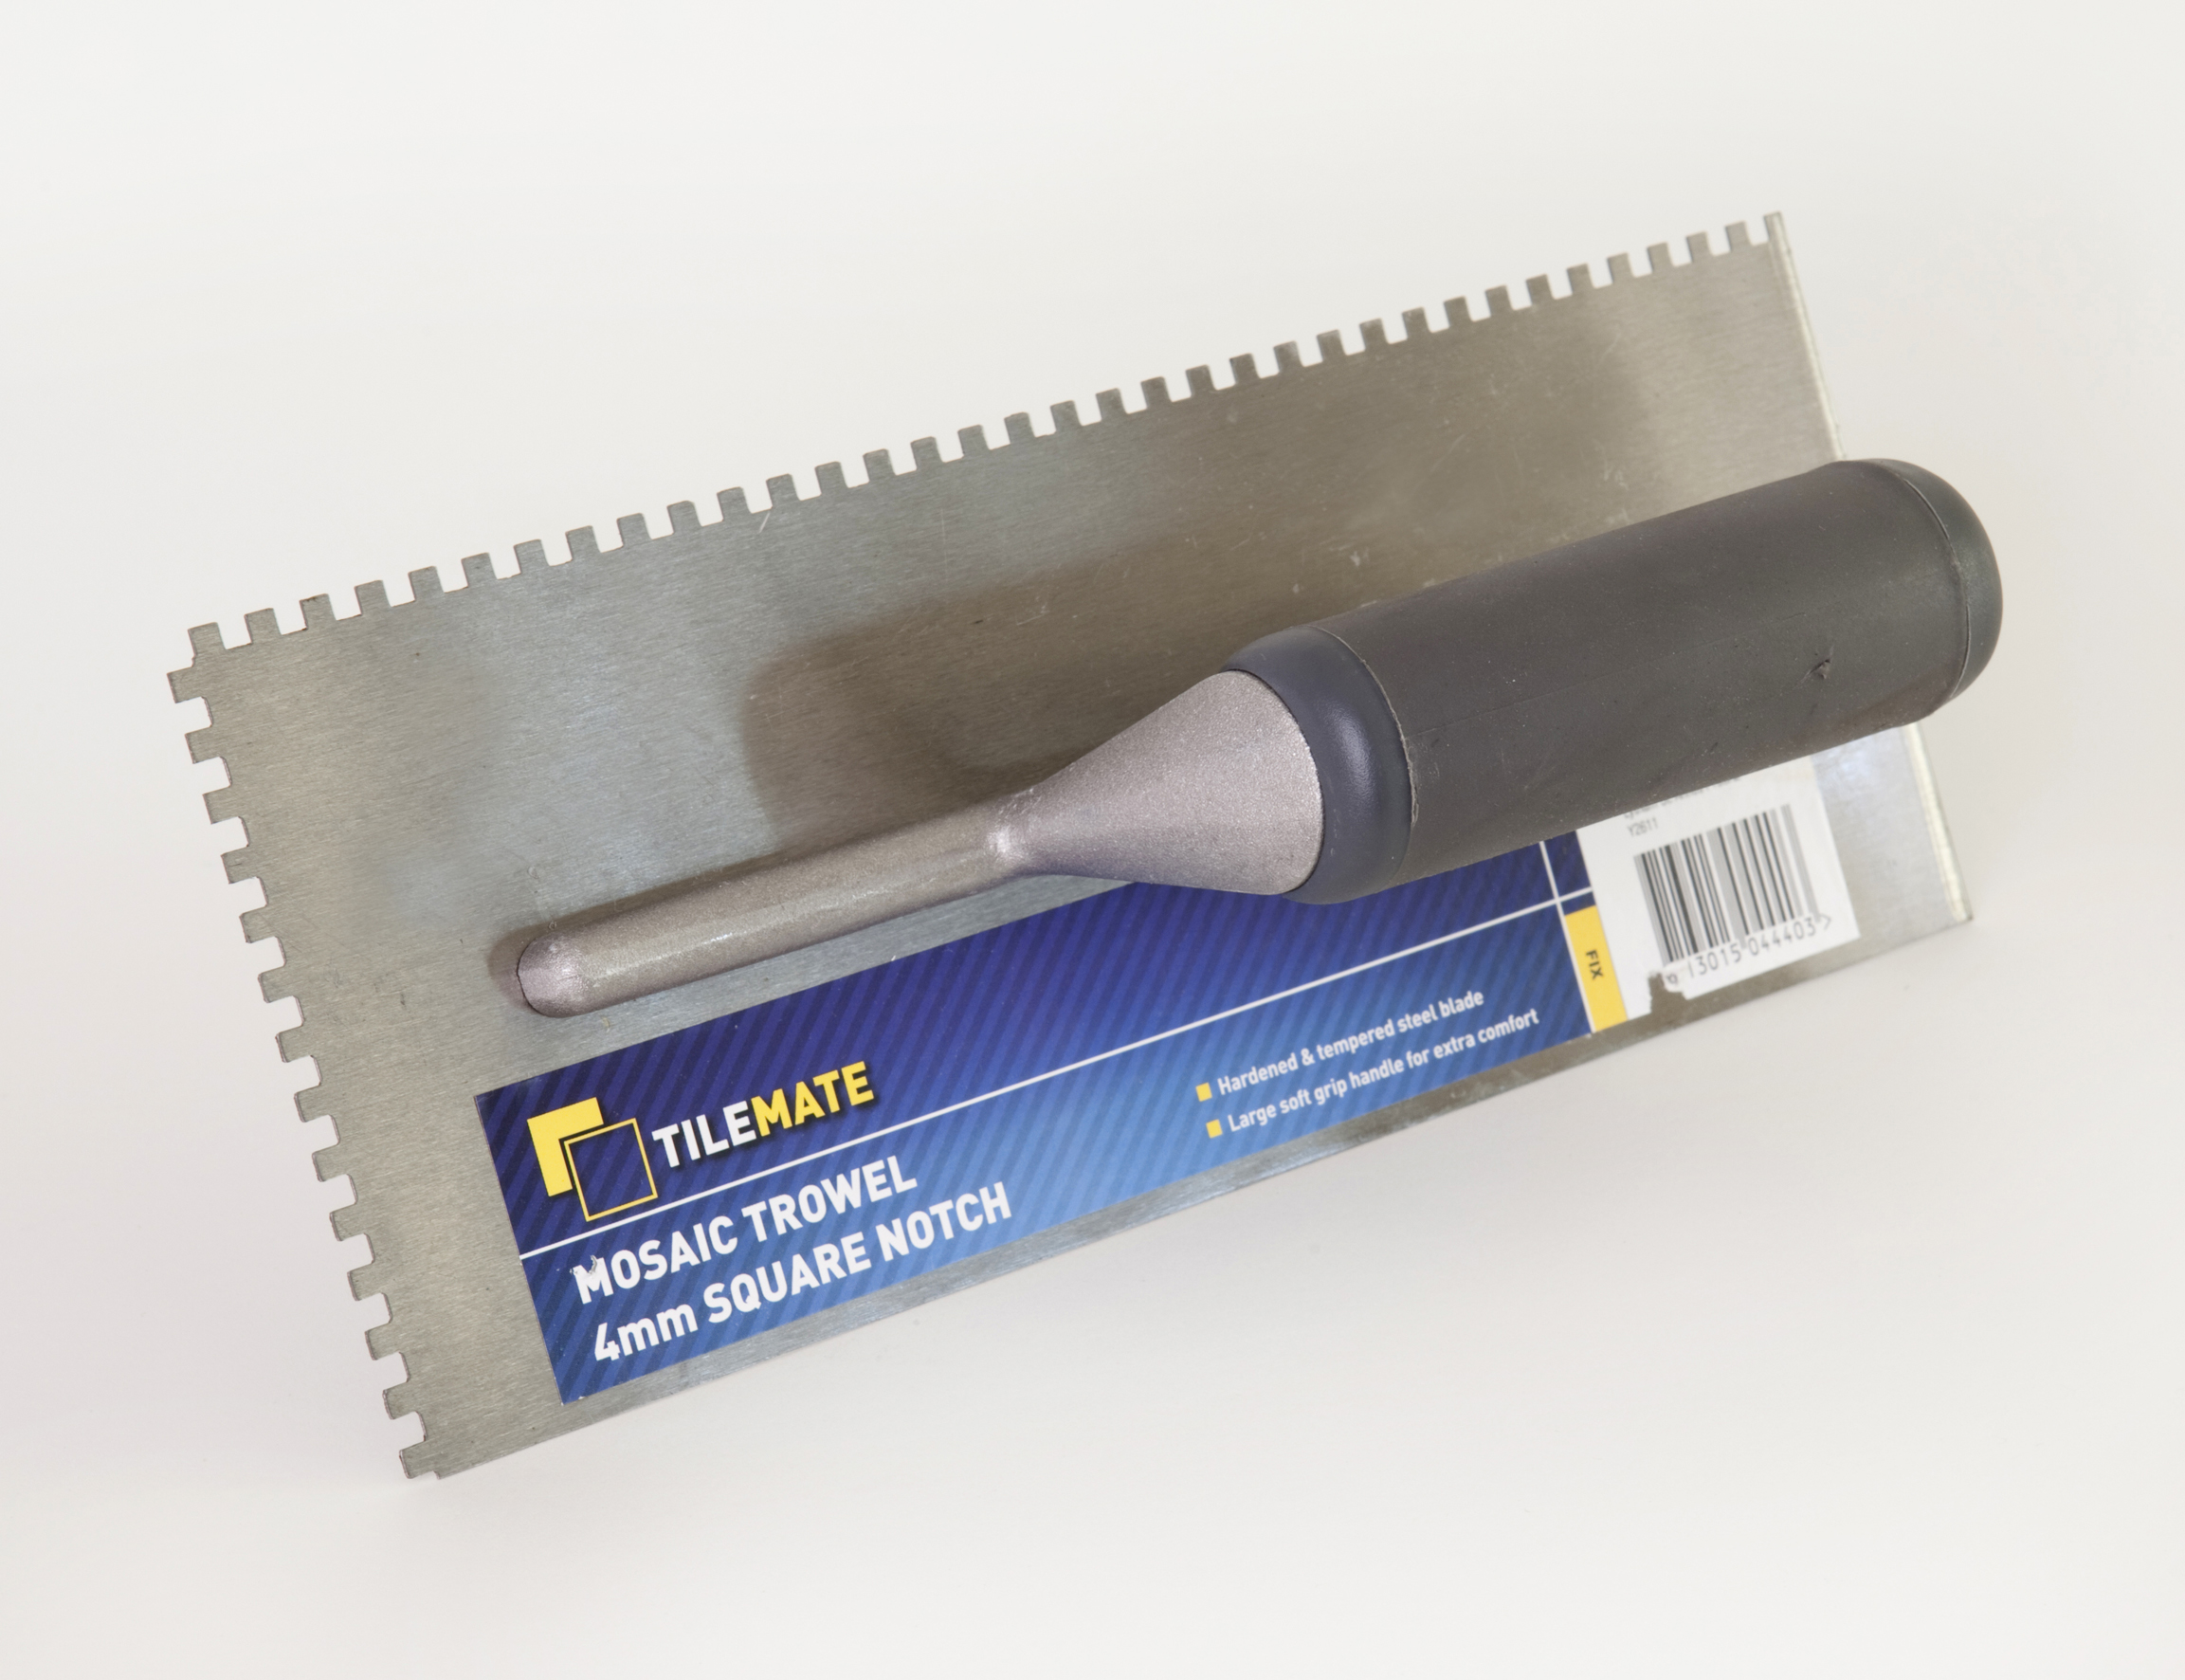 recommend using a notched trowel to apply a uniform amount of adhesive under tiles.
 - Firmly bed the mosaic sheet into the adhesive and allow the adhesive to squeeze out through the joints between the mosaics to form the grout.
- Despite the fact that the tiles are affixed to a single sheet, the sheets are flexible and do not necessarily keep the tiles perfectly square, so make sure that the tiles are all properly lined up.
- Use a small piece of plywood (about 15 cm square) and a rubber mallet to tap down the mosaic sheet into the adhesive. This firmly beds the tile into the adhesive.
- Use a straightedge ruler to make sure the grout lines within the mosaic sheet remain straight.
- You can also use tile spacers to help keep mosaics symmetrical.
- Gently clean excess adhesive off the face of the mosaics before it hardens and allow the installation to dry. Remember to remove the tile spacers before the adhesive is completely set.
[Back]
blog comments powered by Disqus


