
How to tile over existing tiles successfully
Tiling over your existing tiles can save you money and time but not all tiled surfaces are suitable for this type of installation. What are the most important factors to consider when completing a successful tile-on-tile application? We offer some tips on how to get it right.

Important considerations before you consider tiling over existing tiles
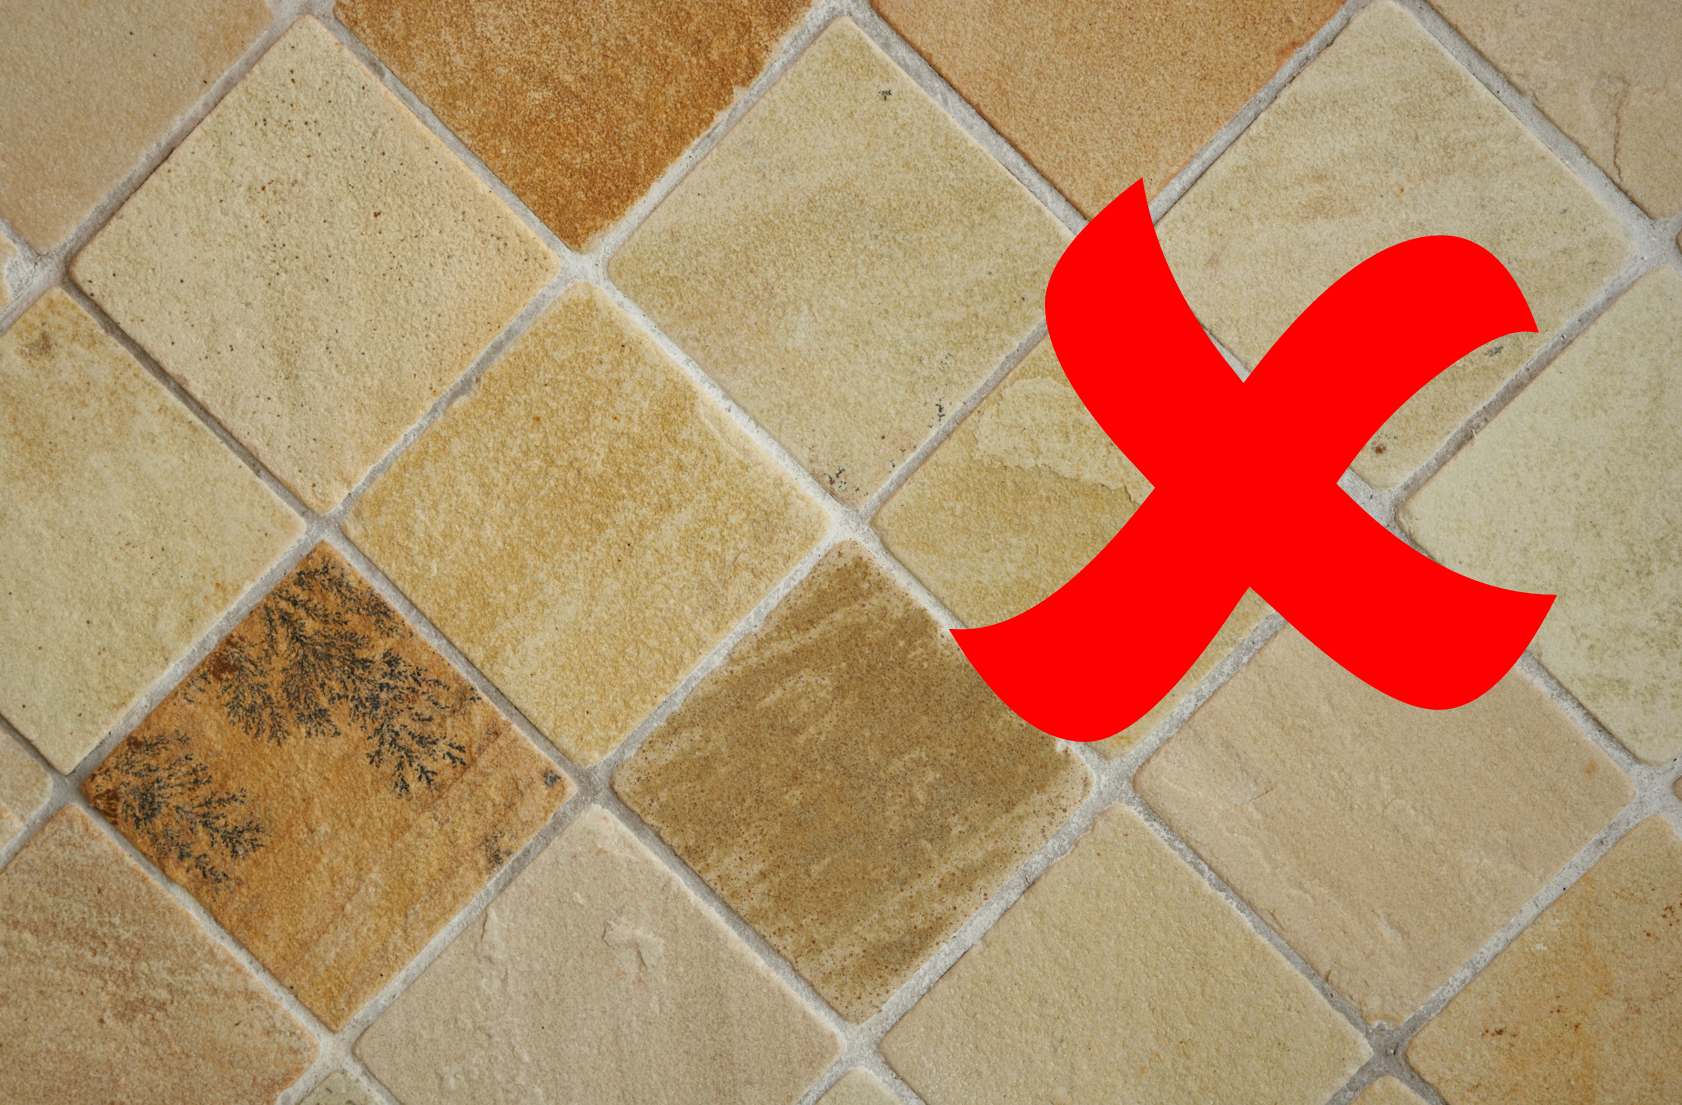
Note that TAL does not recommend tiling over natural stone tiles such as sandstone, slate, etc., as these natural products tend to delaminate within themselves, and are therefore not considered a stable or suitable background for tiling.
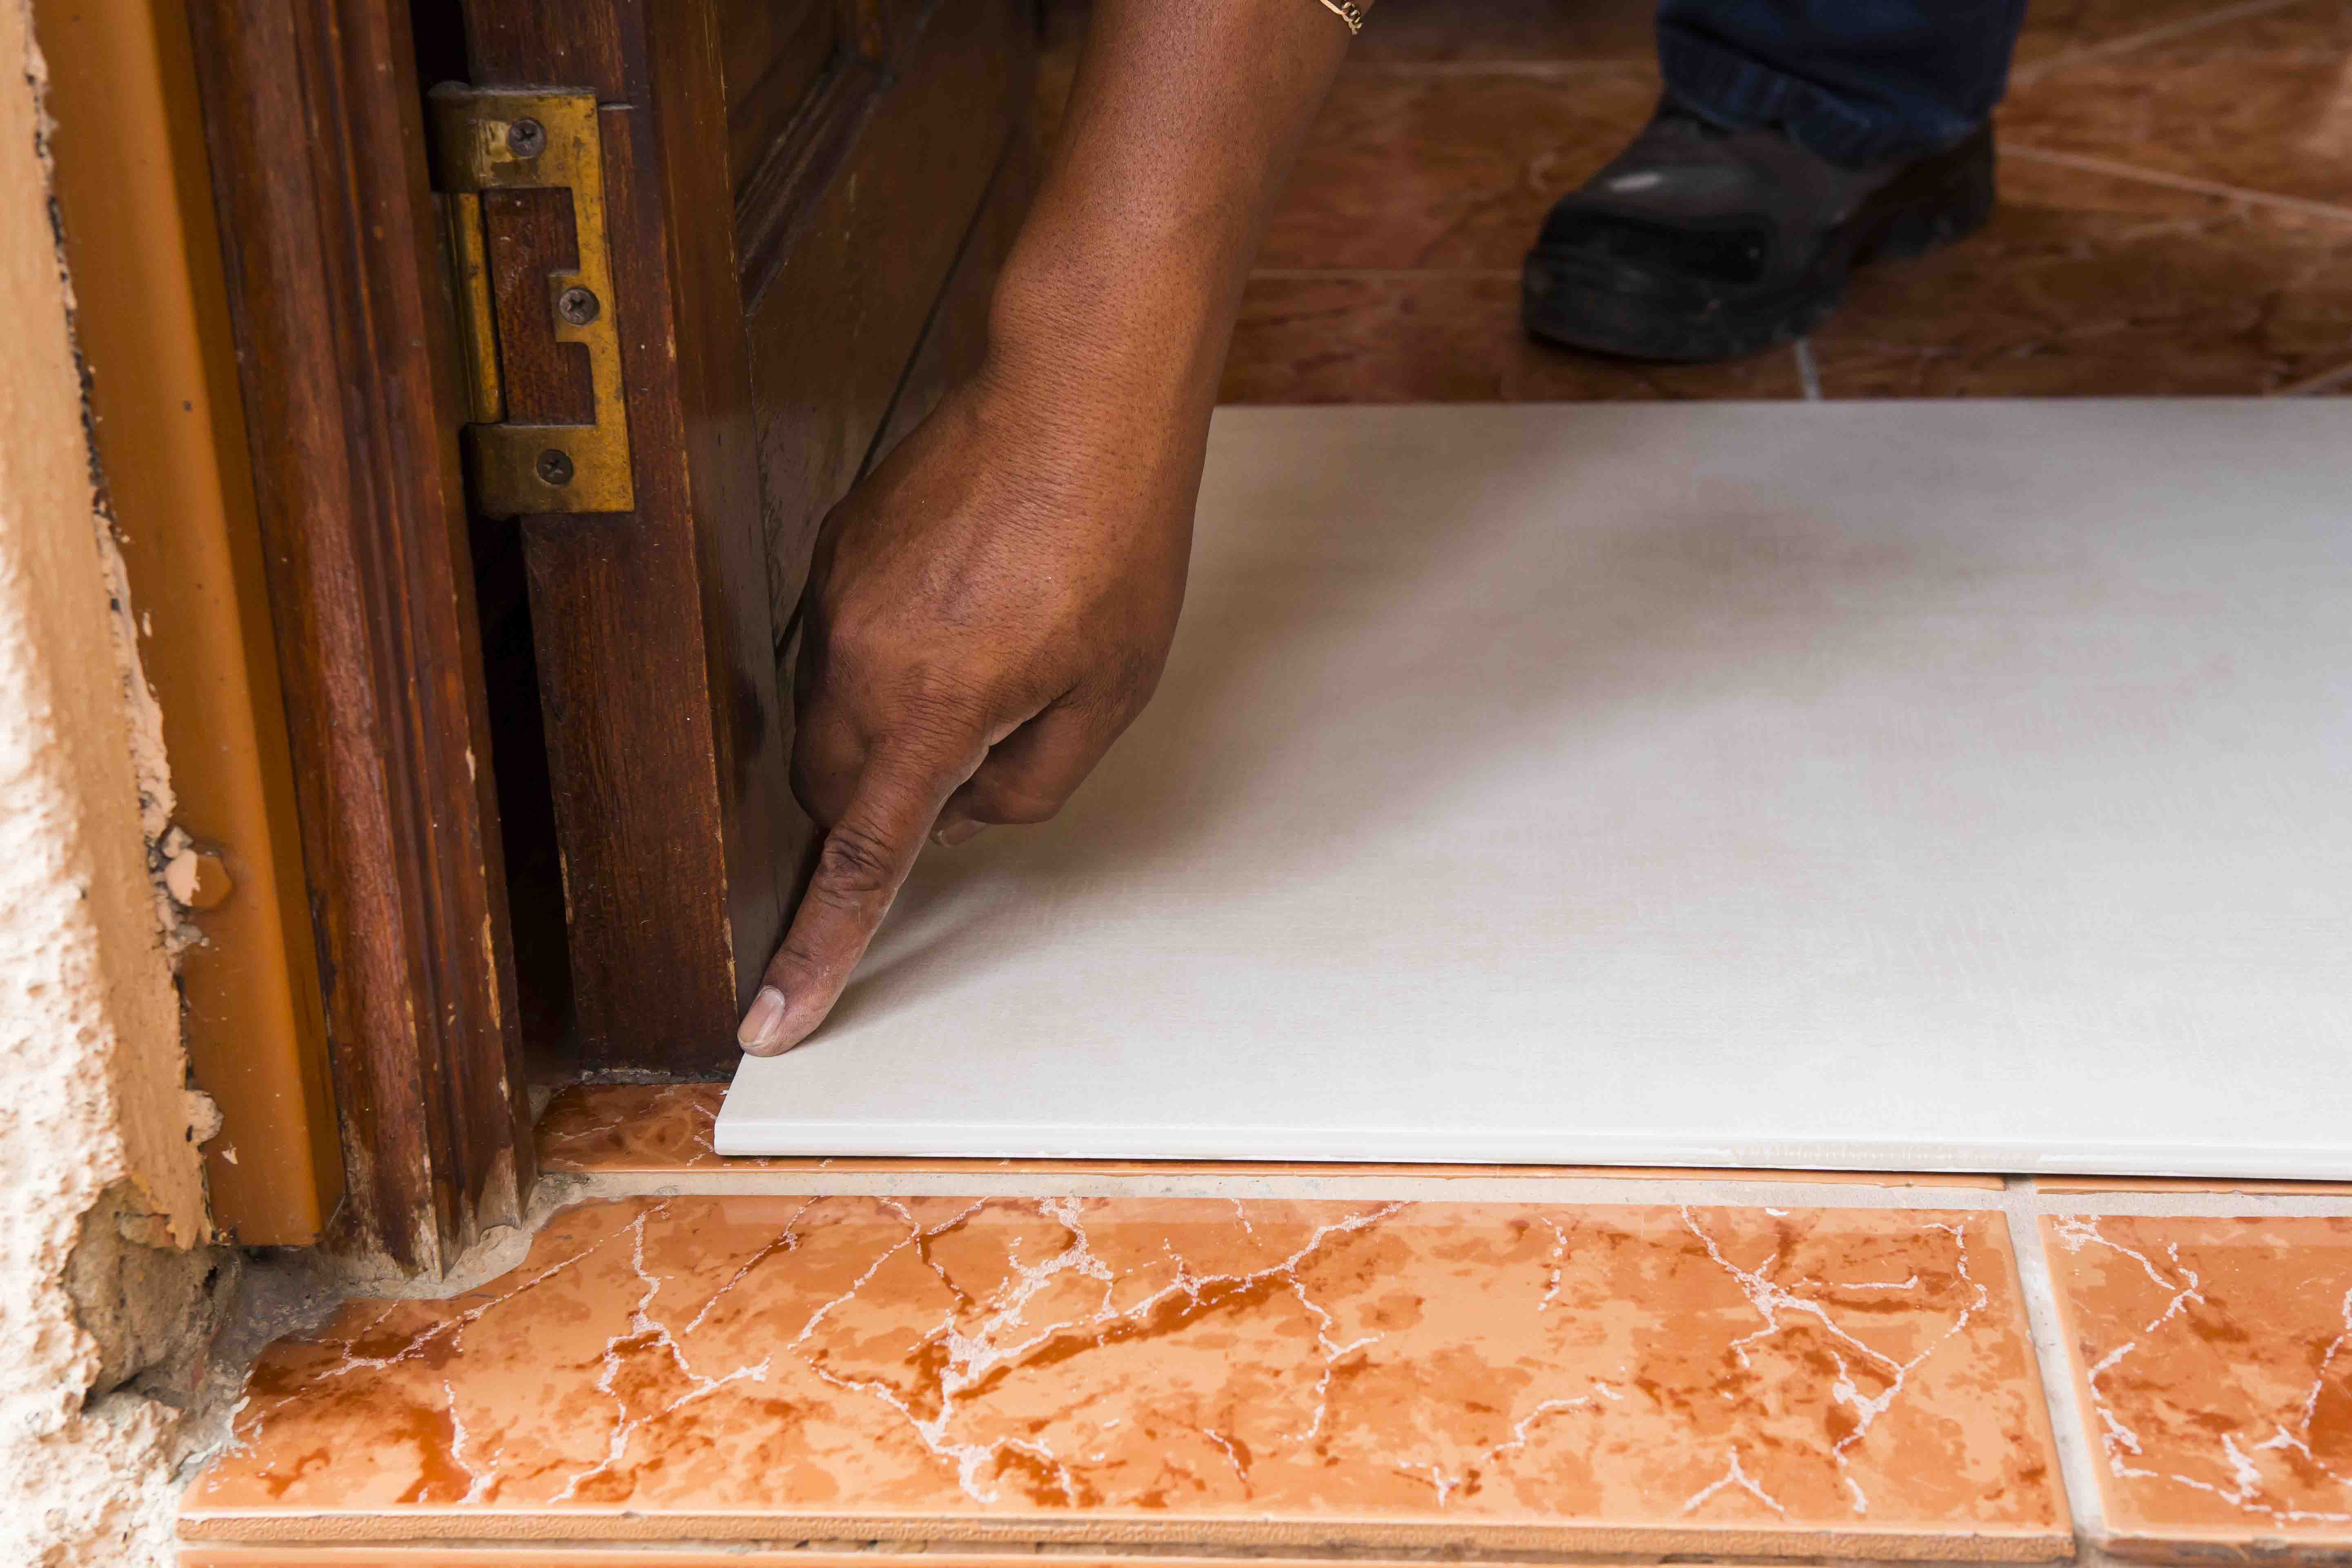
The floor level will rise with the extra layer of tiles. Carefully check how this will match up to the existing floor and consider that doors may need to be trimmed.
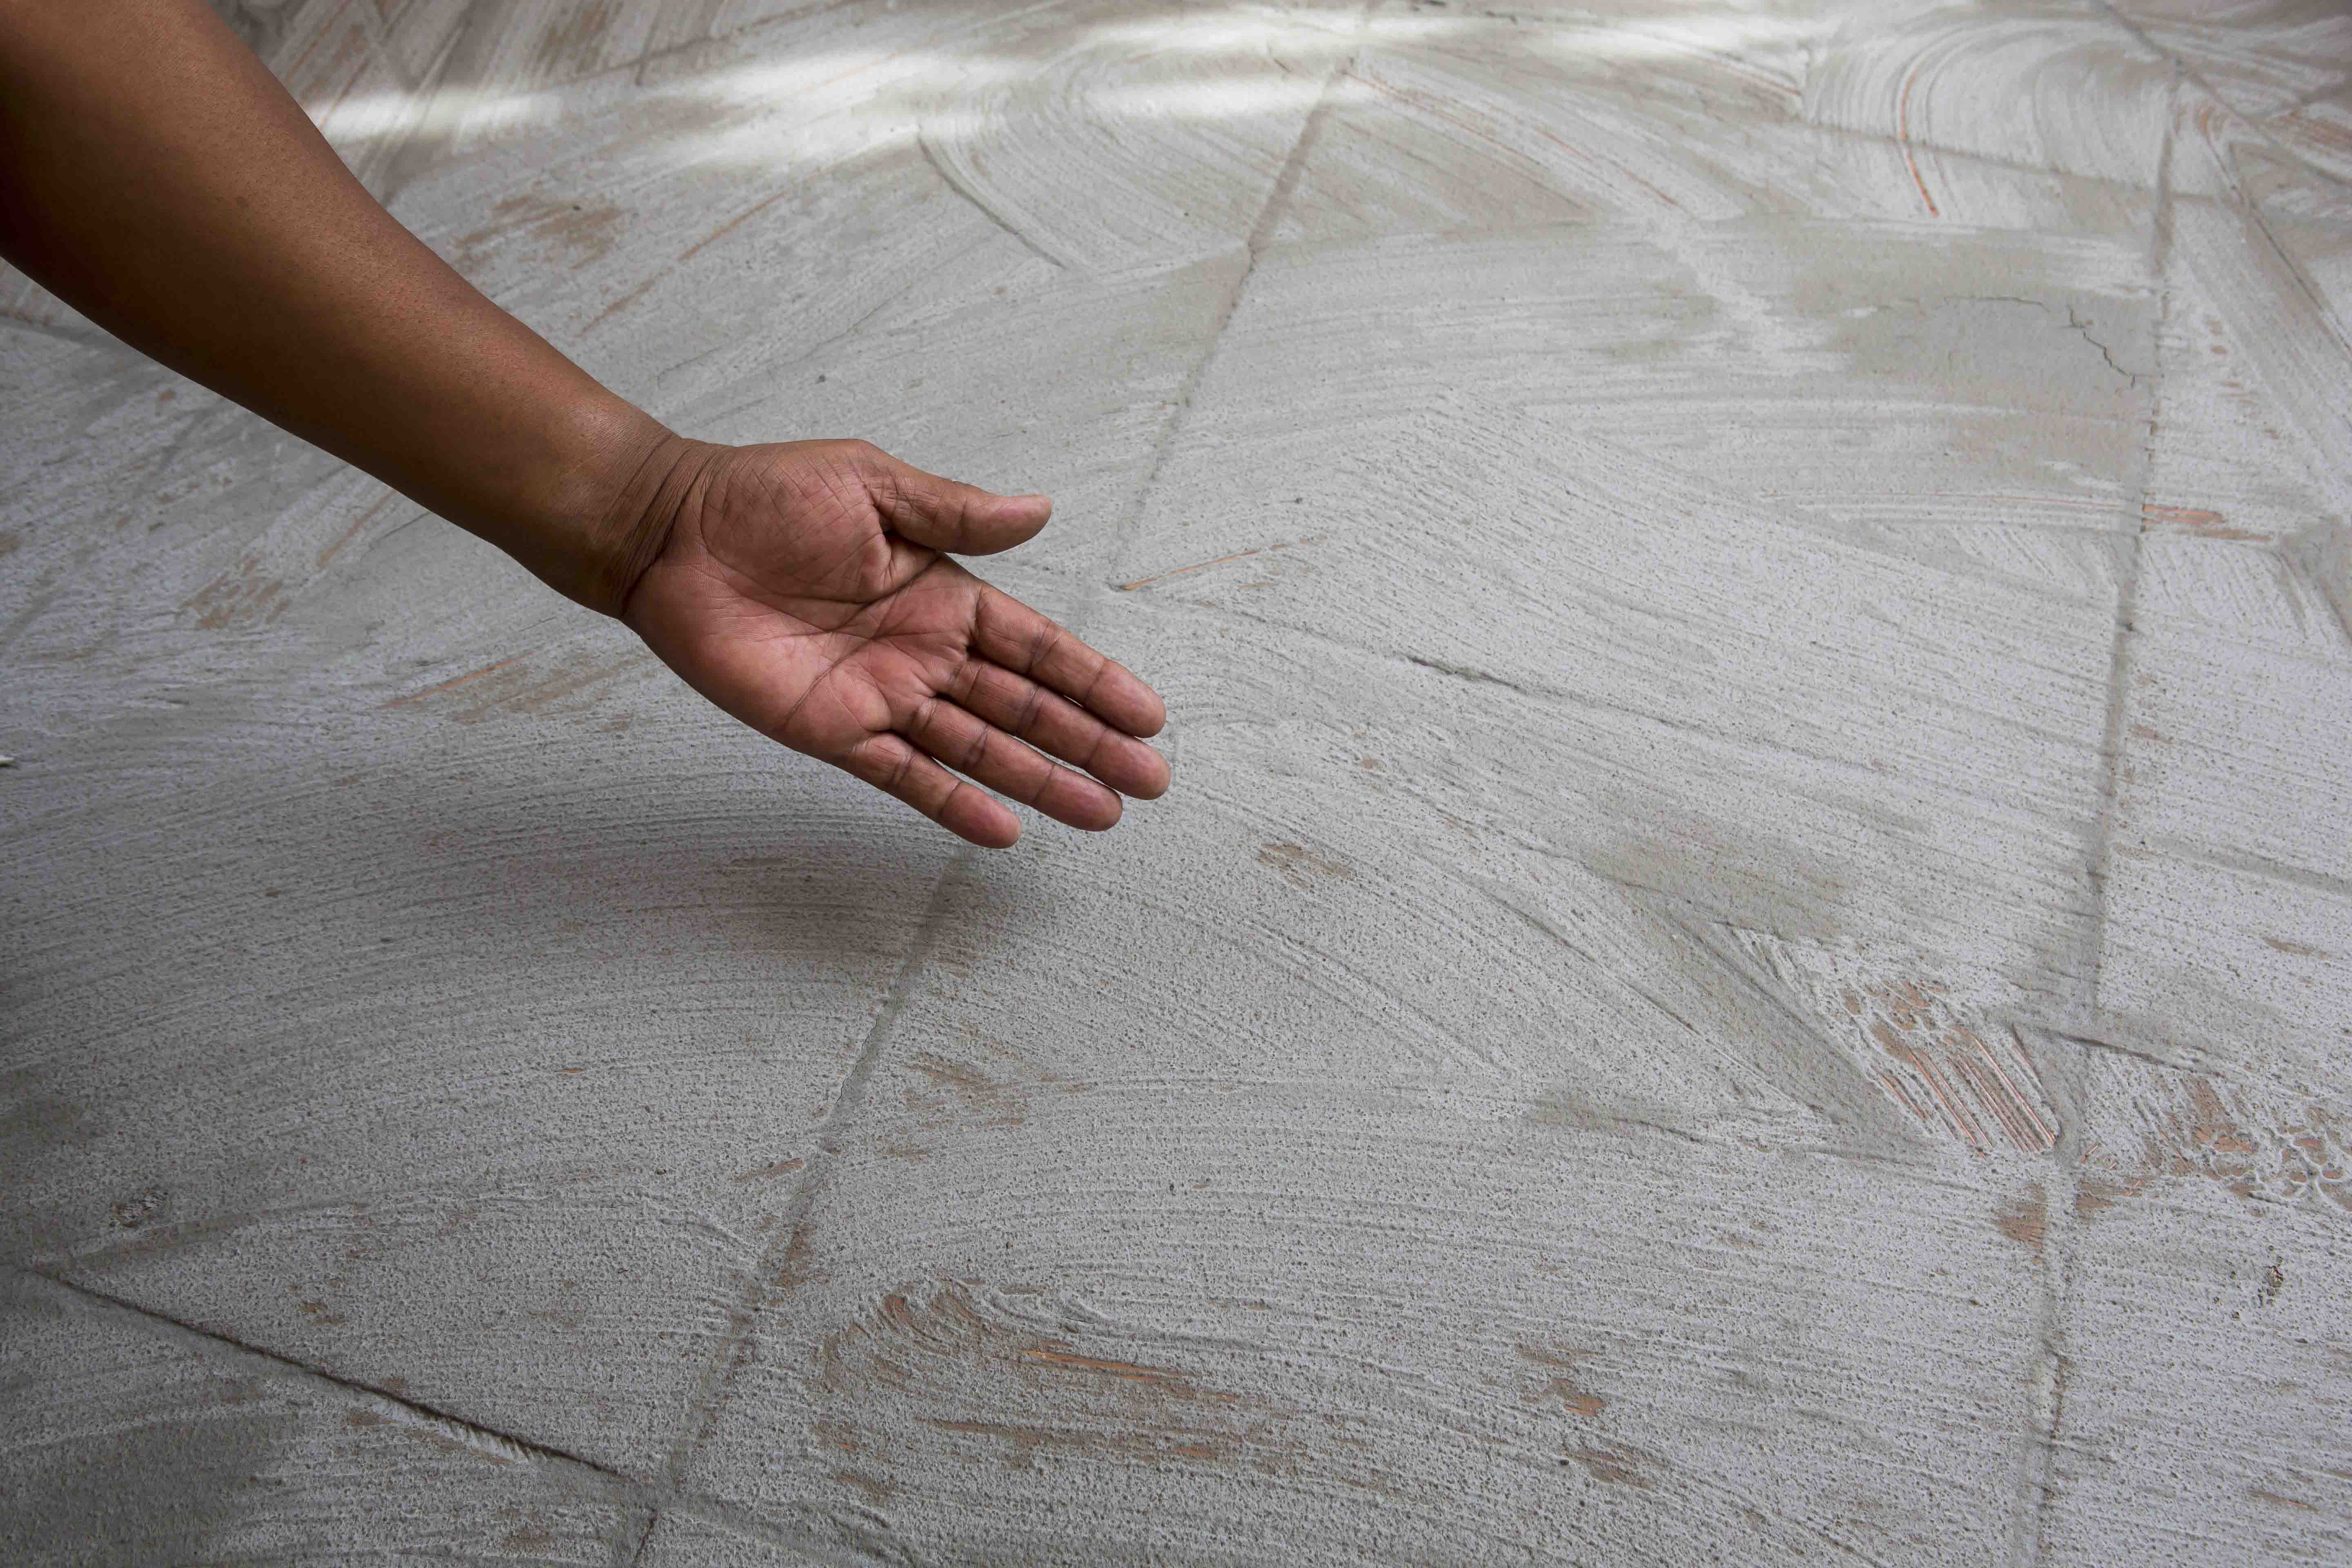
Background preparation
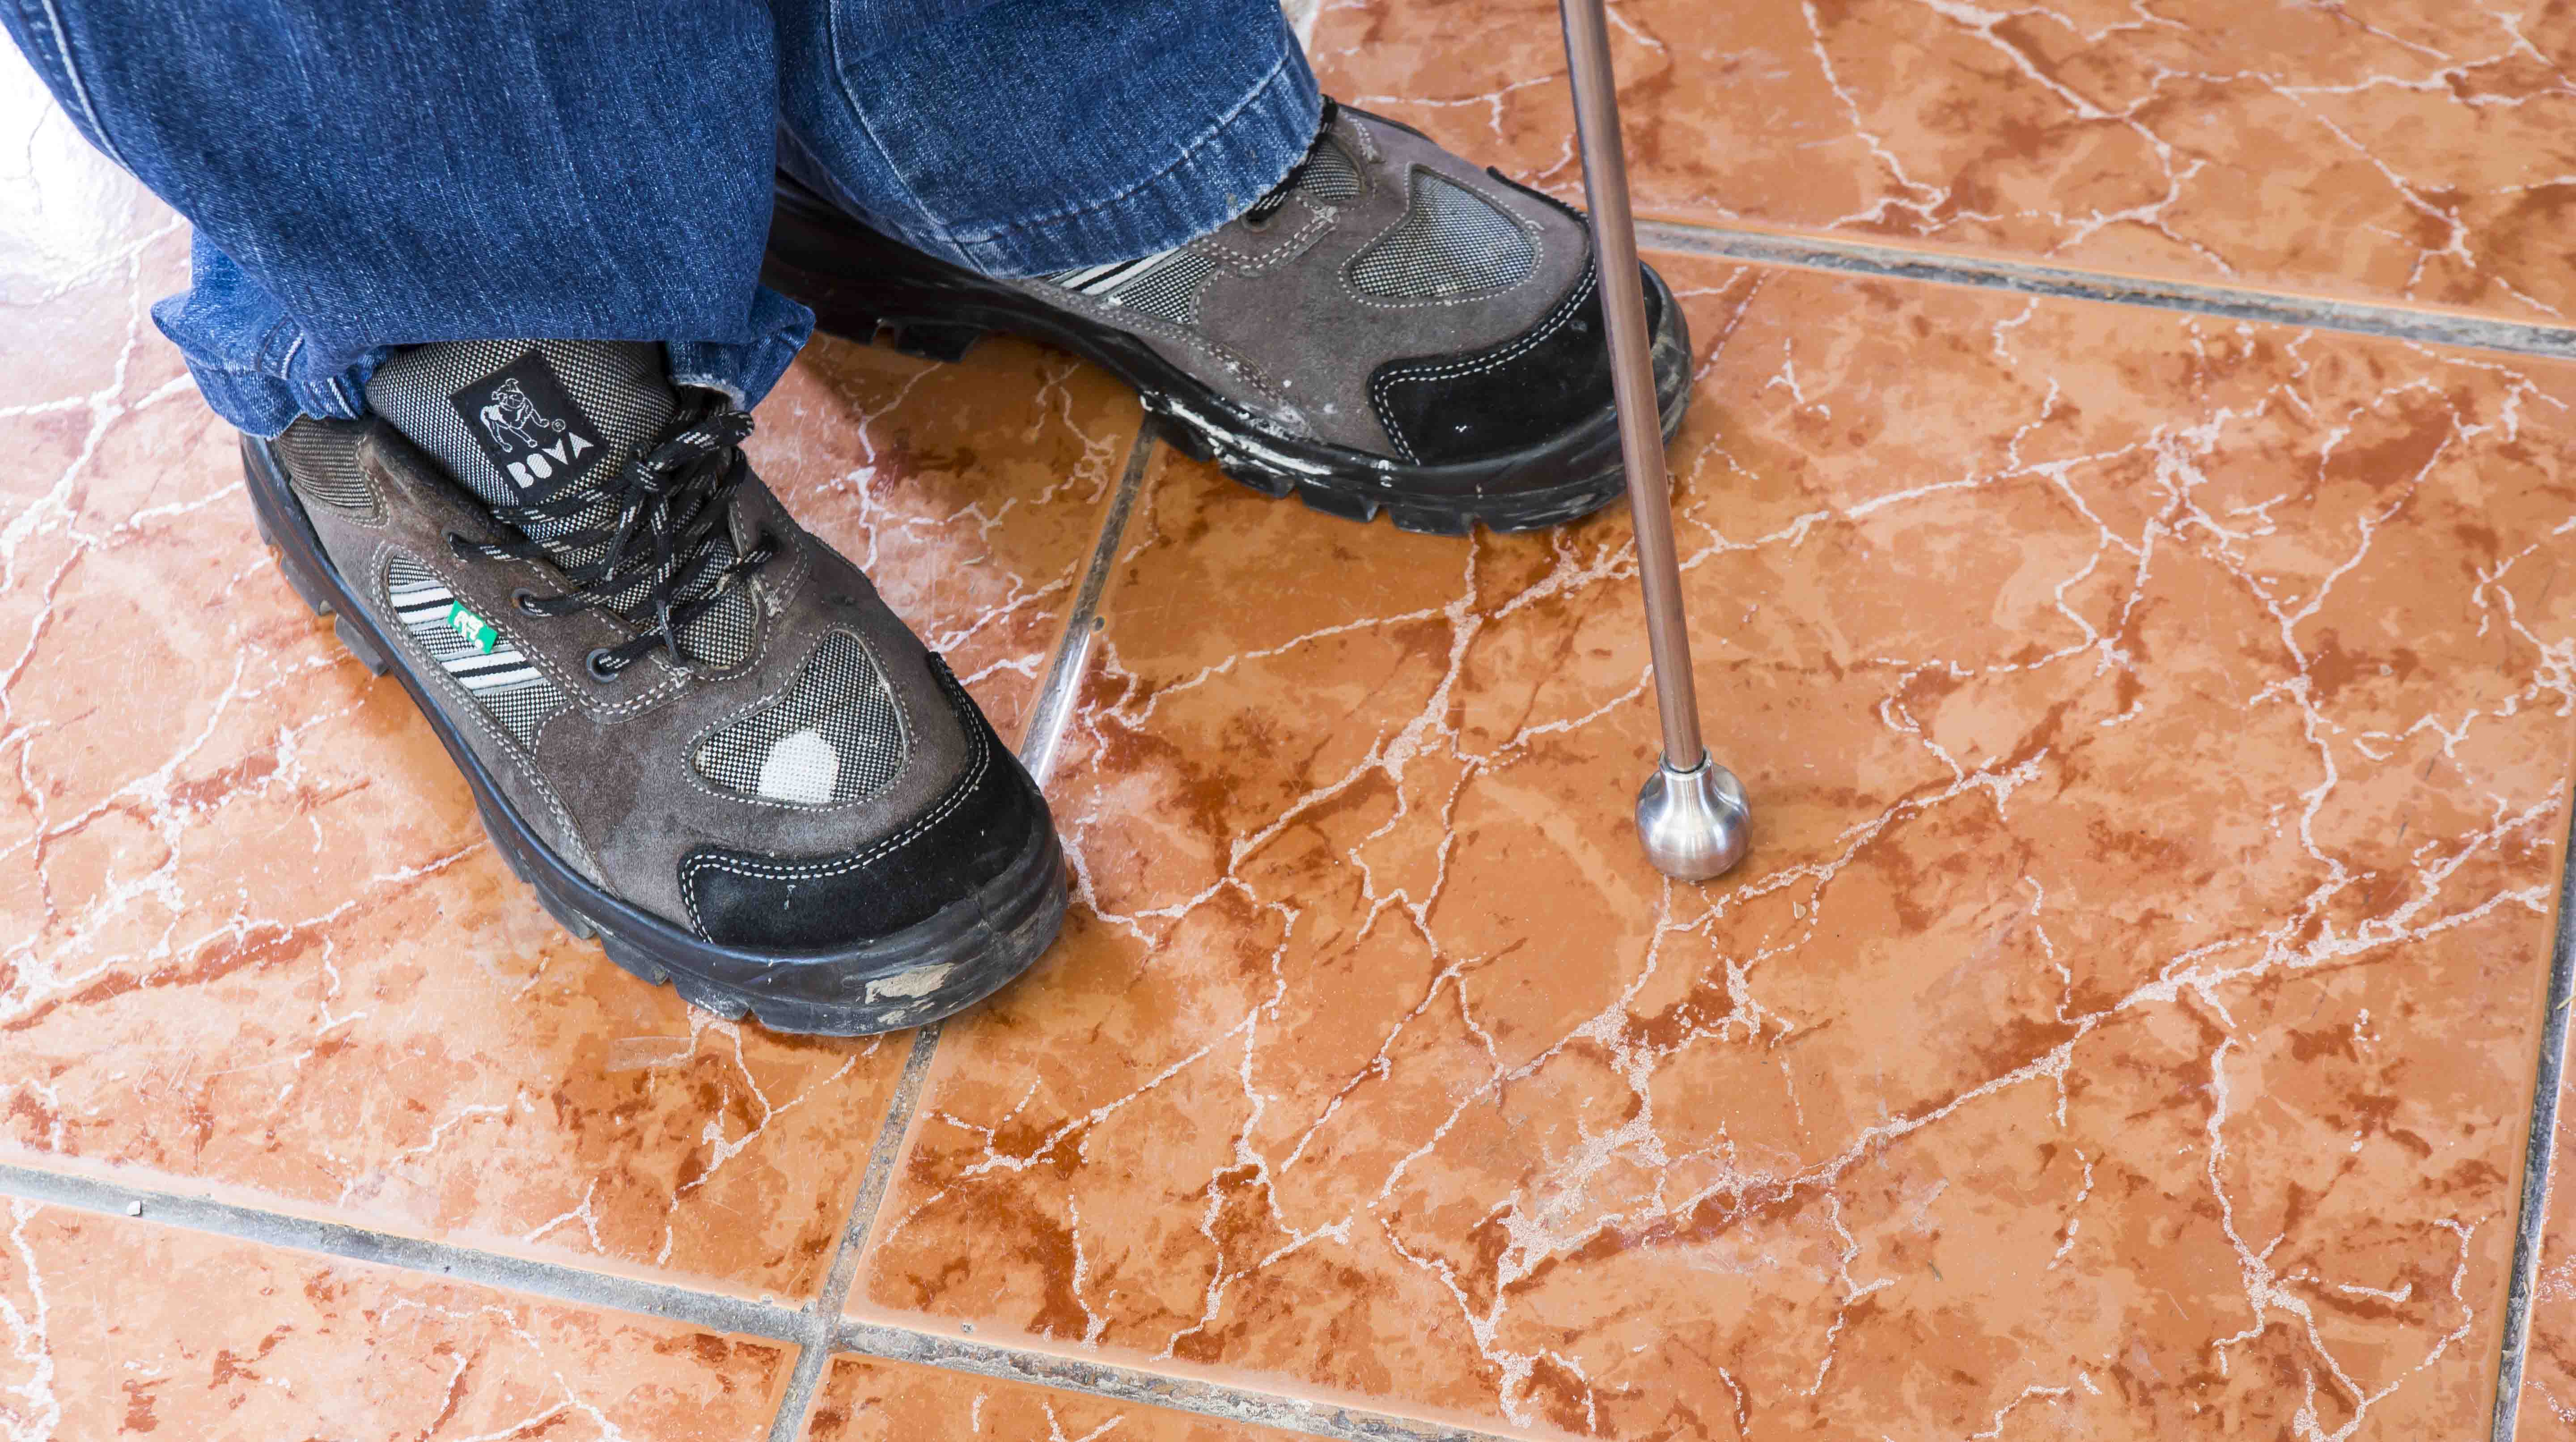
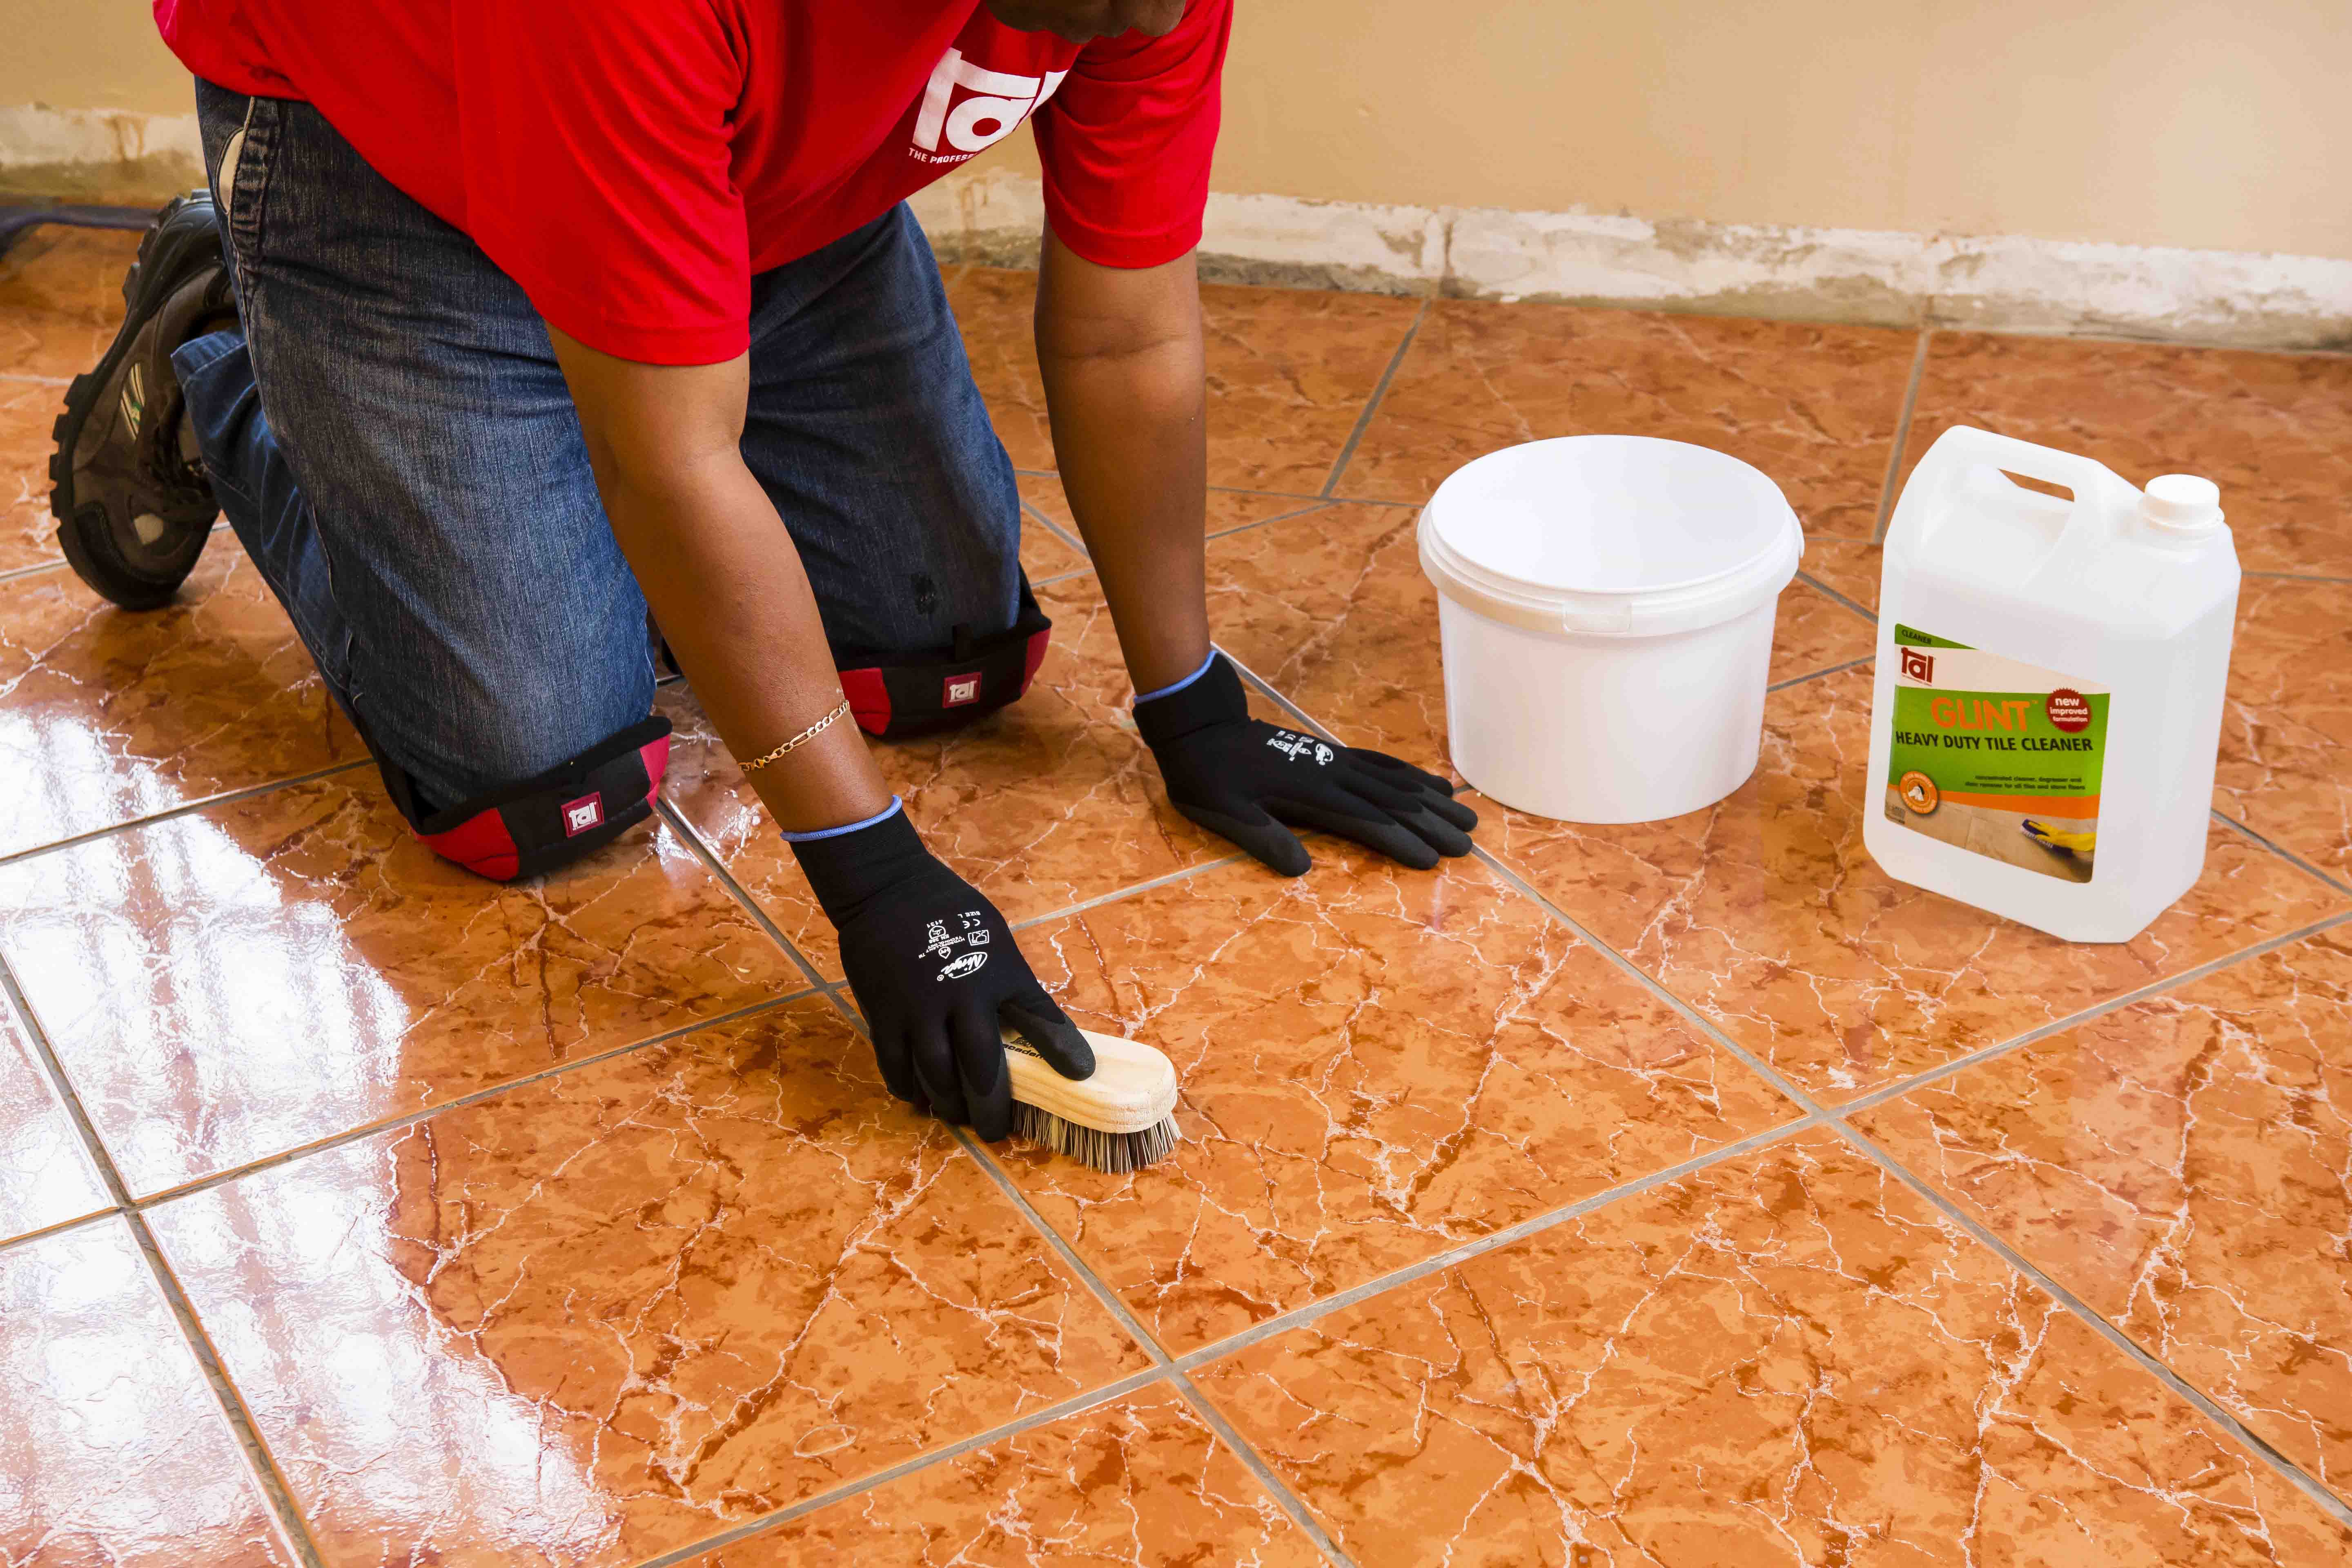
It is important that the existing tiles are in good condition and attached firmly to the background.
The existing tiles should be cleaned thoroughly (acid-washing, degreasing, etc.) to remove all traces of dirt, grime, polishes and sealants. Any surface contamination will impair the adhesive bond onto the existing tiles, and can cause the new tiles to be hollow-sounding and/or loose.
All cracked, damaged, loose or hollow-sounding tiles must be identified and removed before installing the new tiles. Tiling over hollow-sounding tiles can result in this hollow sound being echoed in the new tile installation, even if they are solidly bedded in adhesive, while tiling over cracked tiles can result in reflective (mirrored) cracking in the new tiles.
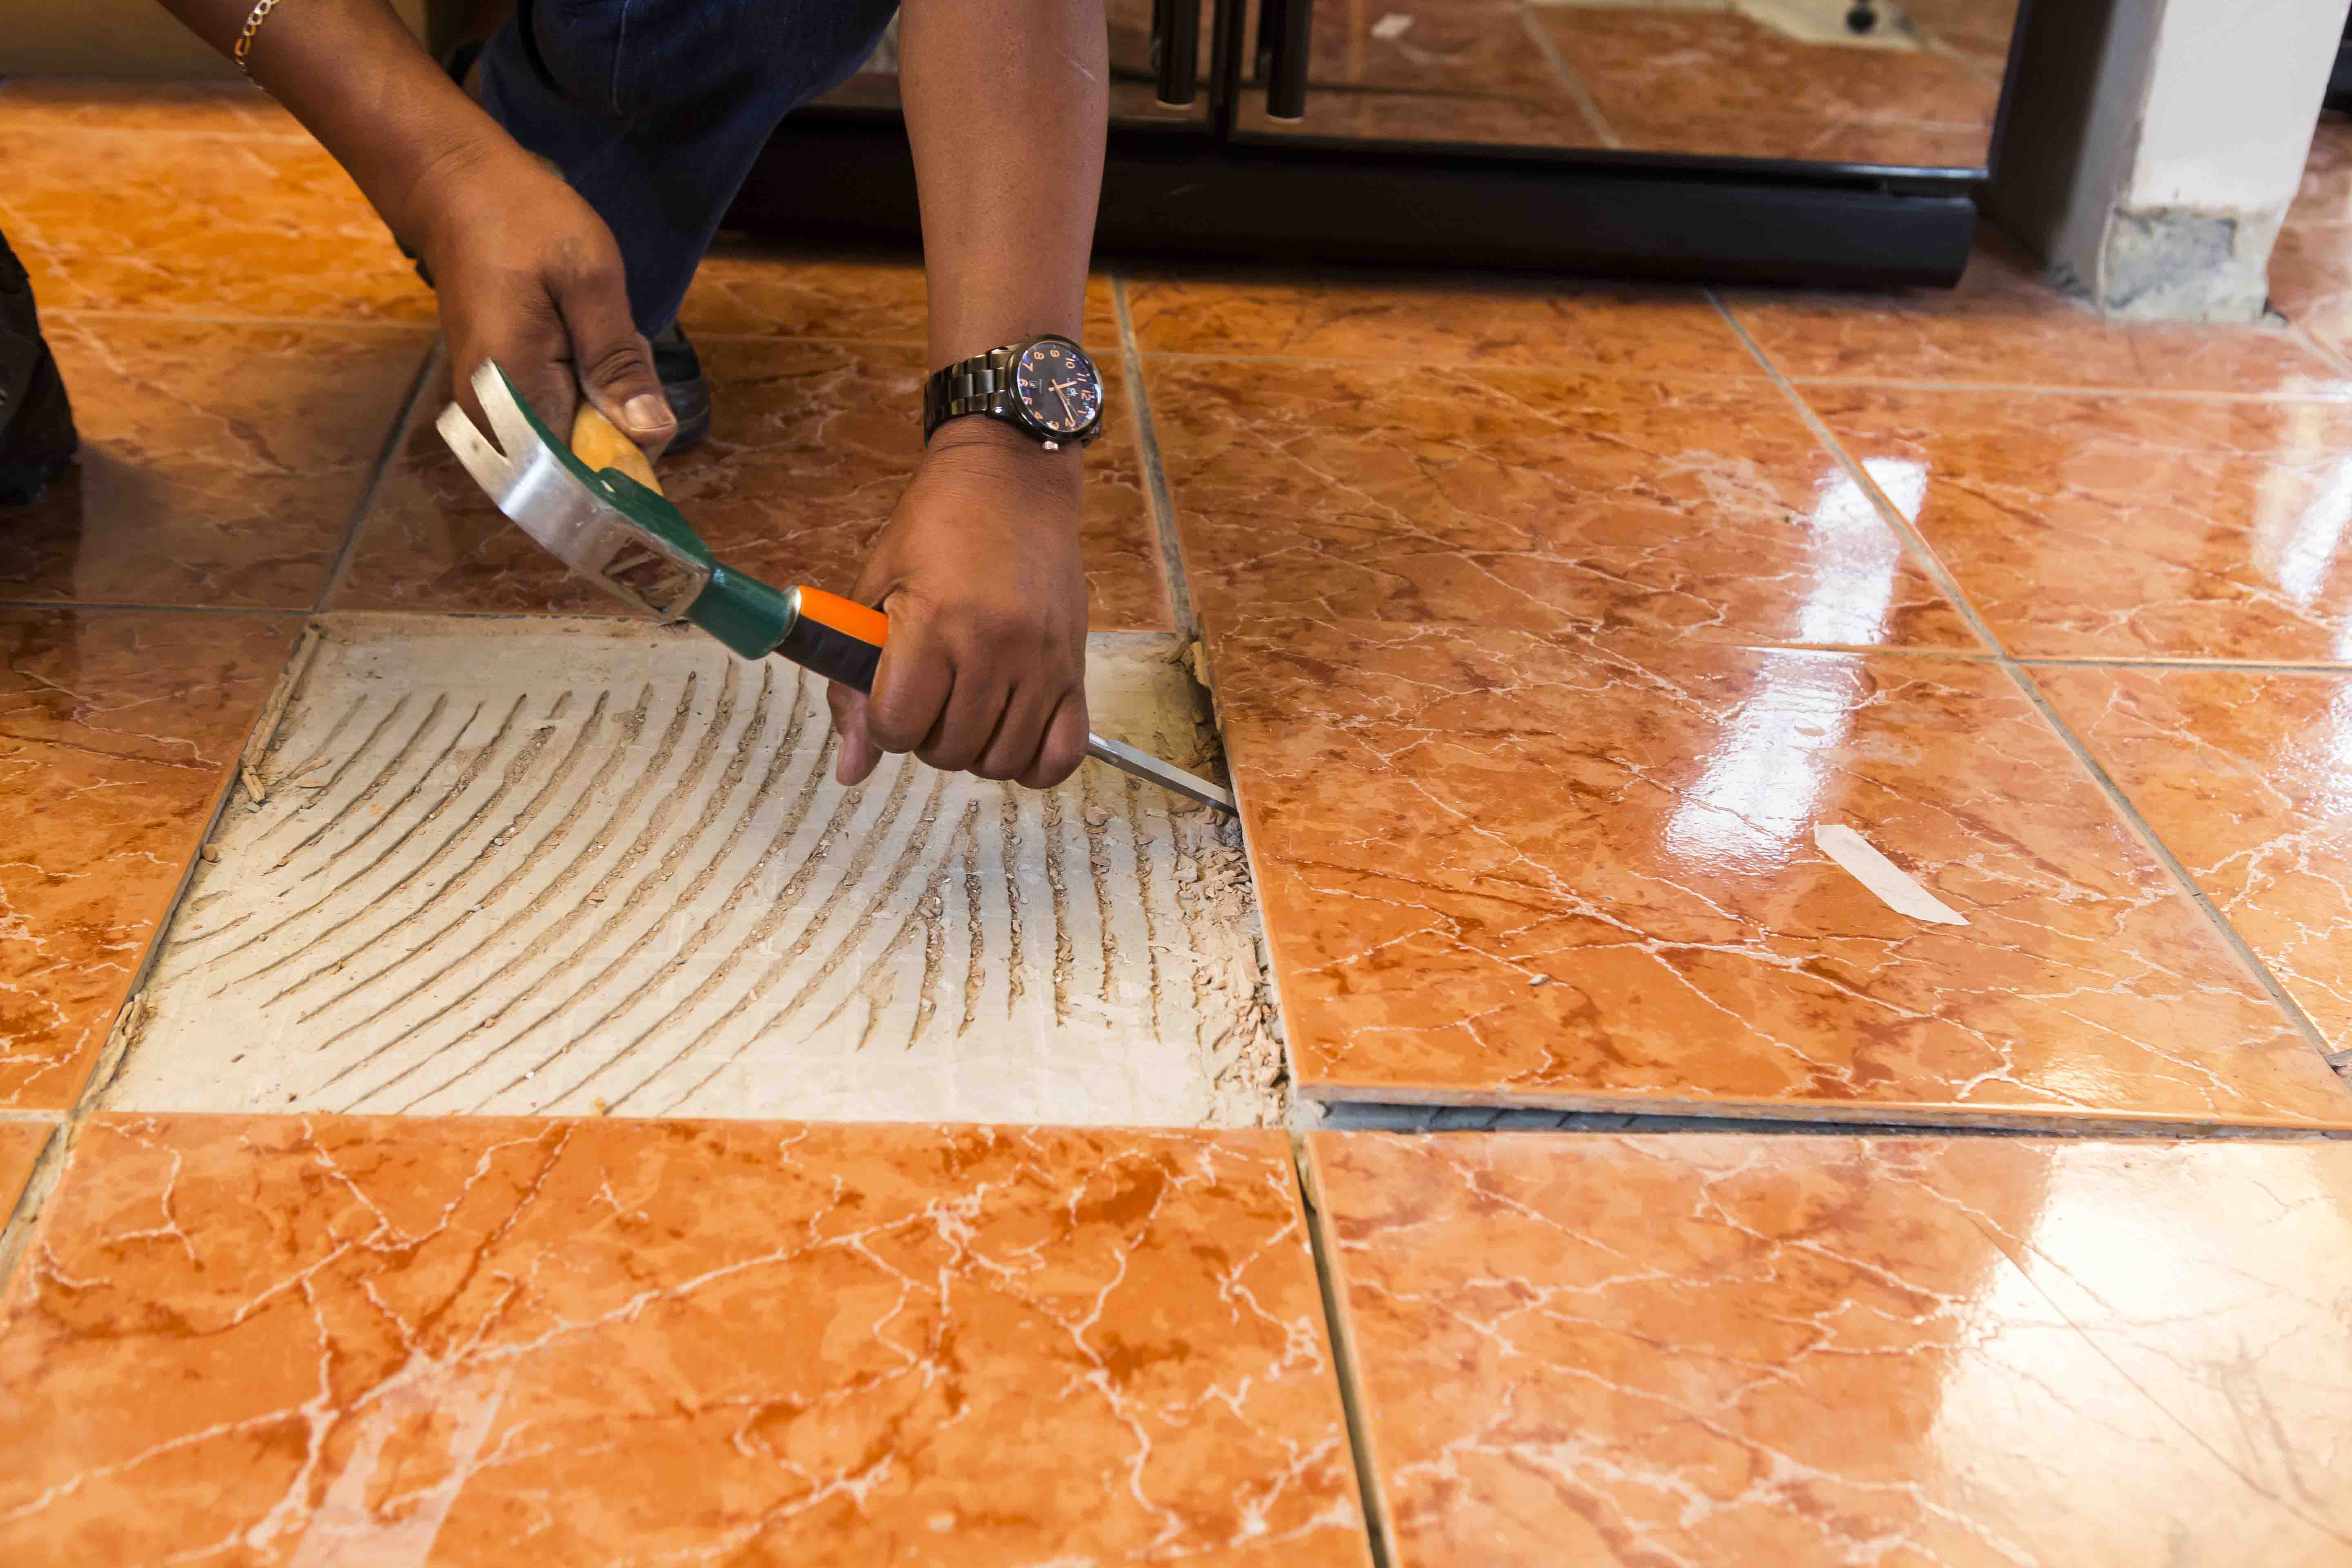
TAL Rapidfix, a rapid-setting patching and repair compound, can be used to fill up these areas so that they are level with the surrounding tiles. Allow any remedial work to cure before proceeding.

The surface must be primed before applying the adhesive to ensure a good bond onto the existing tiles. The recommended method is to apply a slurry consisting of one part TAL Keycoat mixed with two parts TAL Keymix powder (by volume).
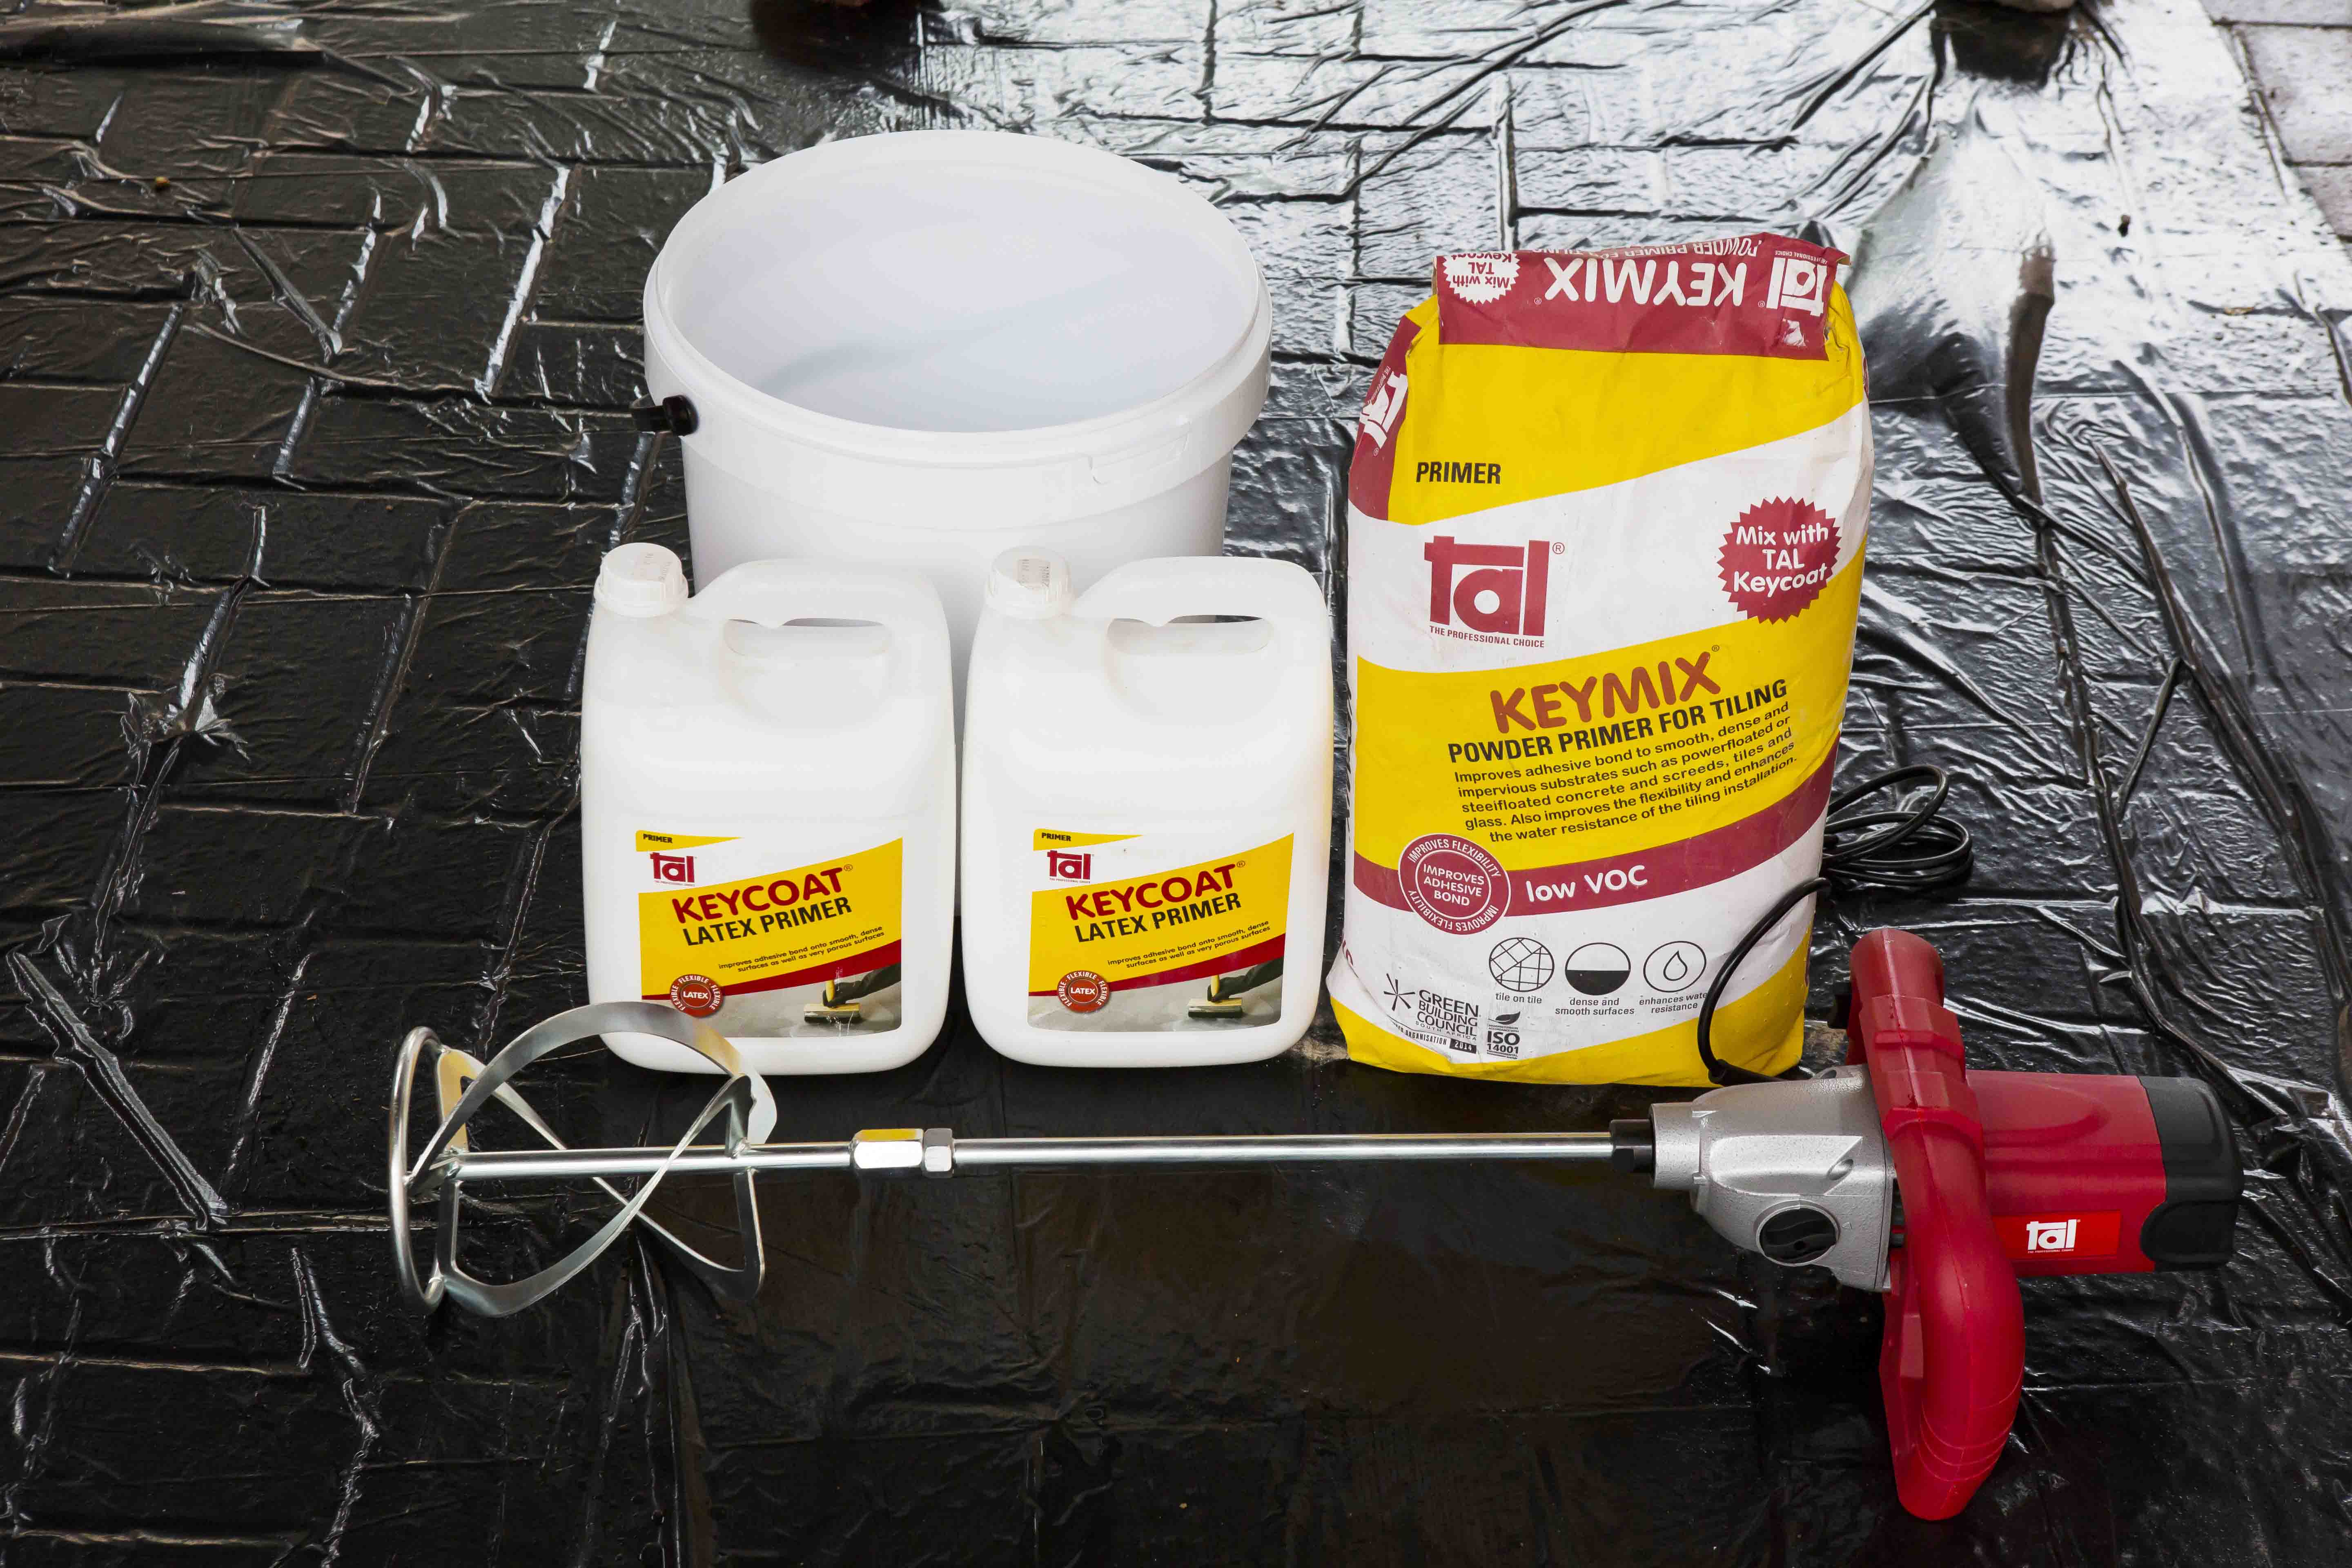
This is applied using a builder’s block brush and ensuring complete coverage of the existing tiles.
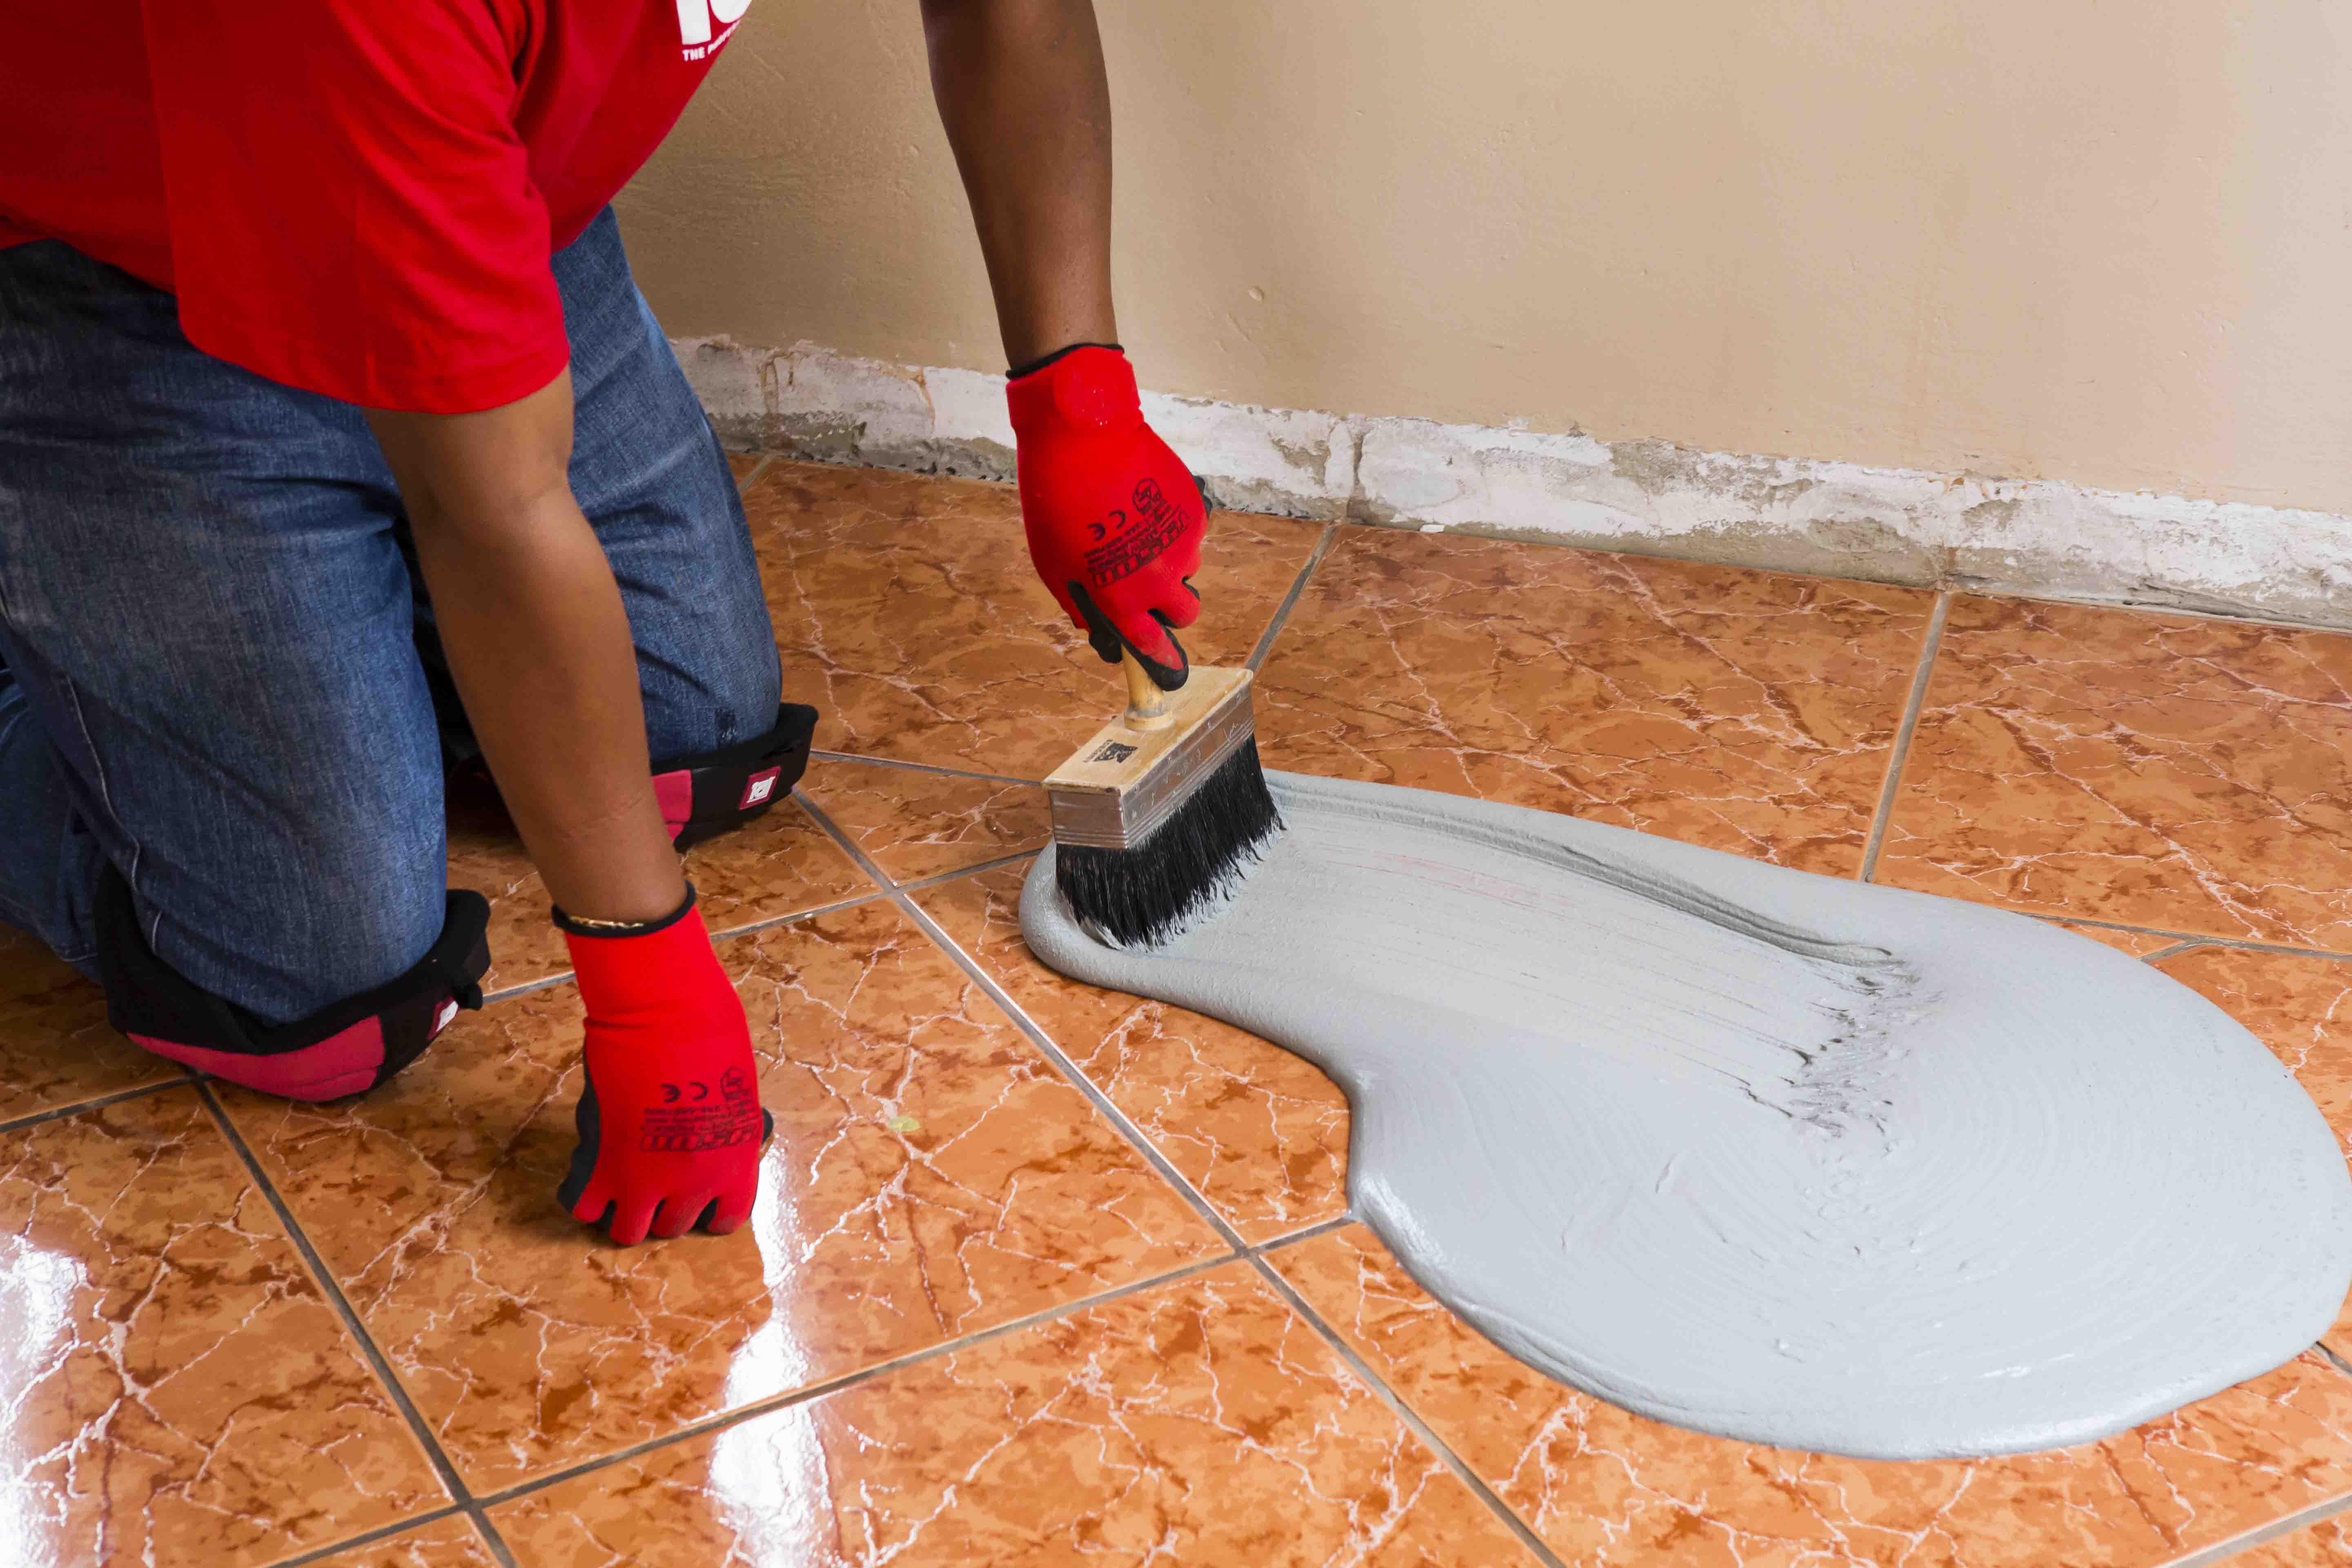
The adhesive can be applied once the slurry priming coat is touch-dry (i.e. no visible transfer when wiped or rubbed).
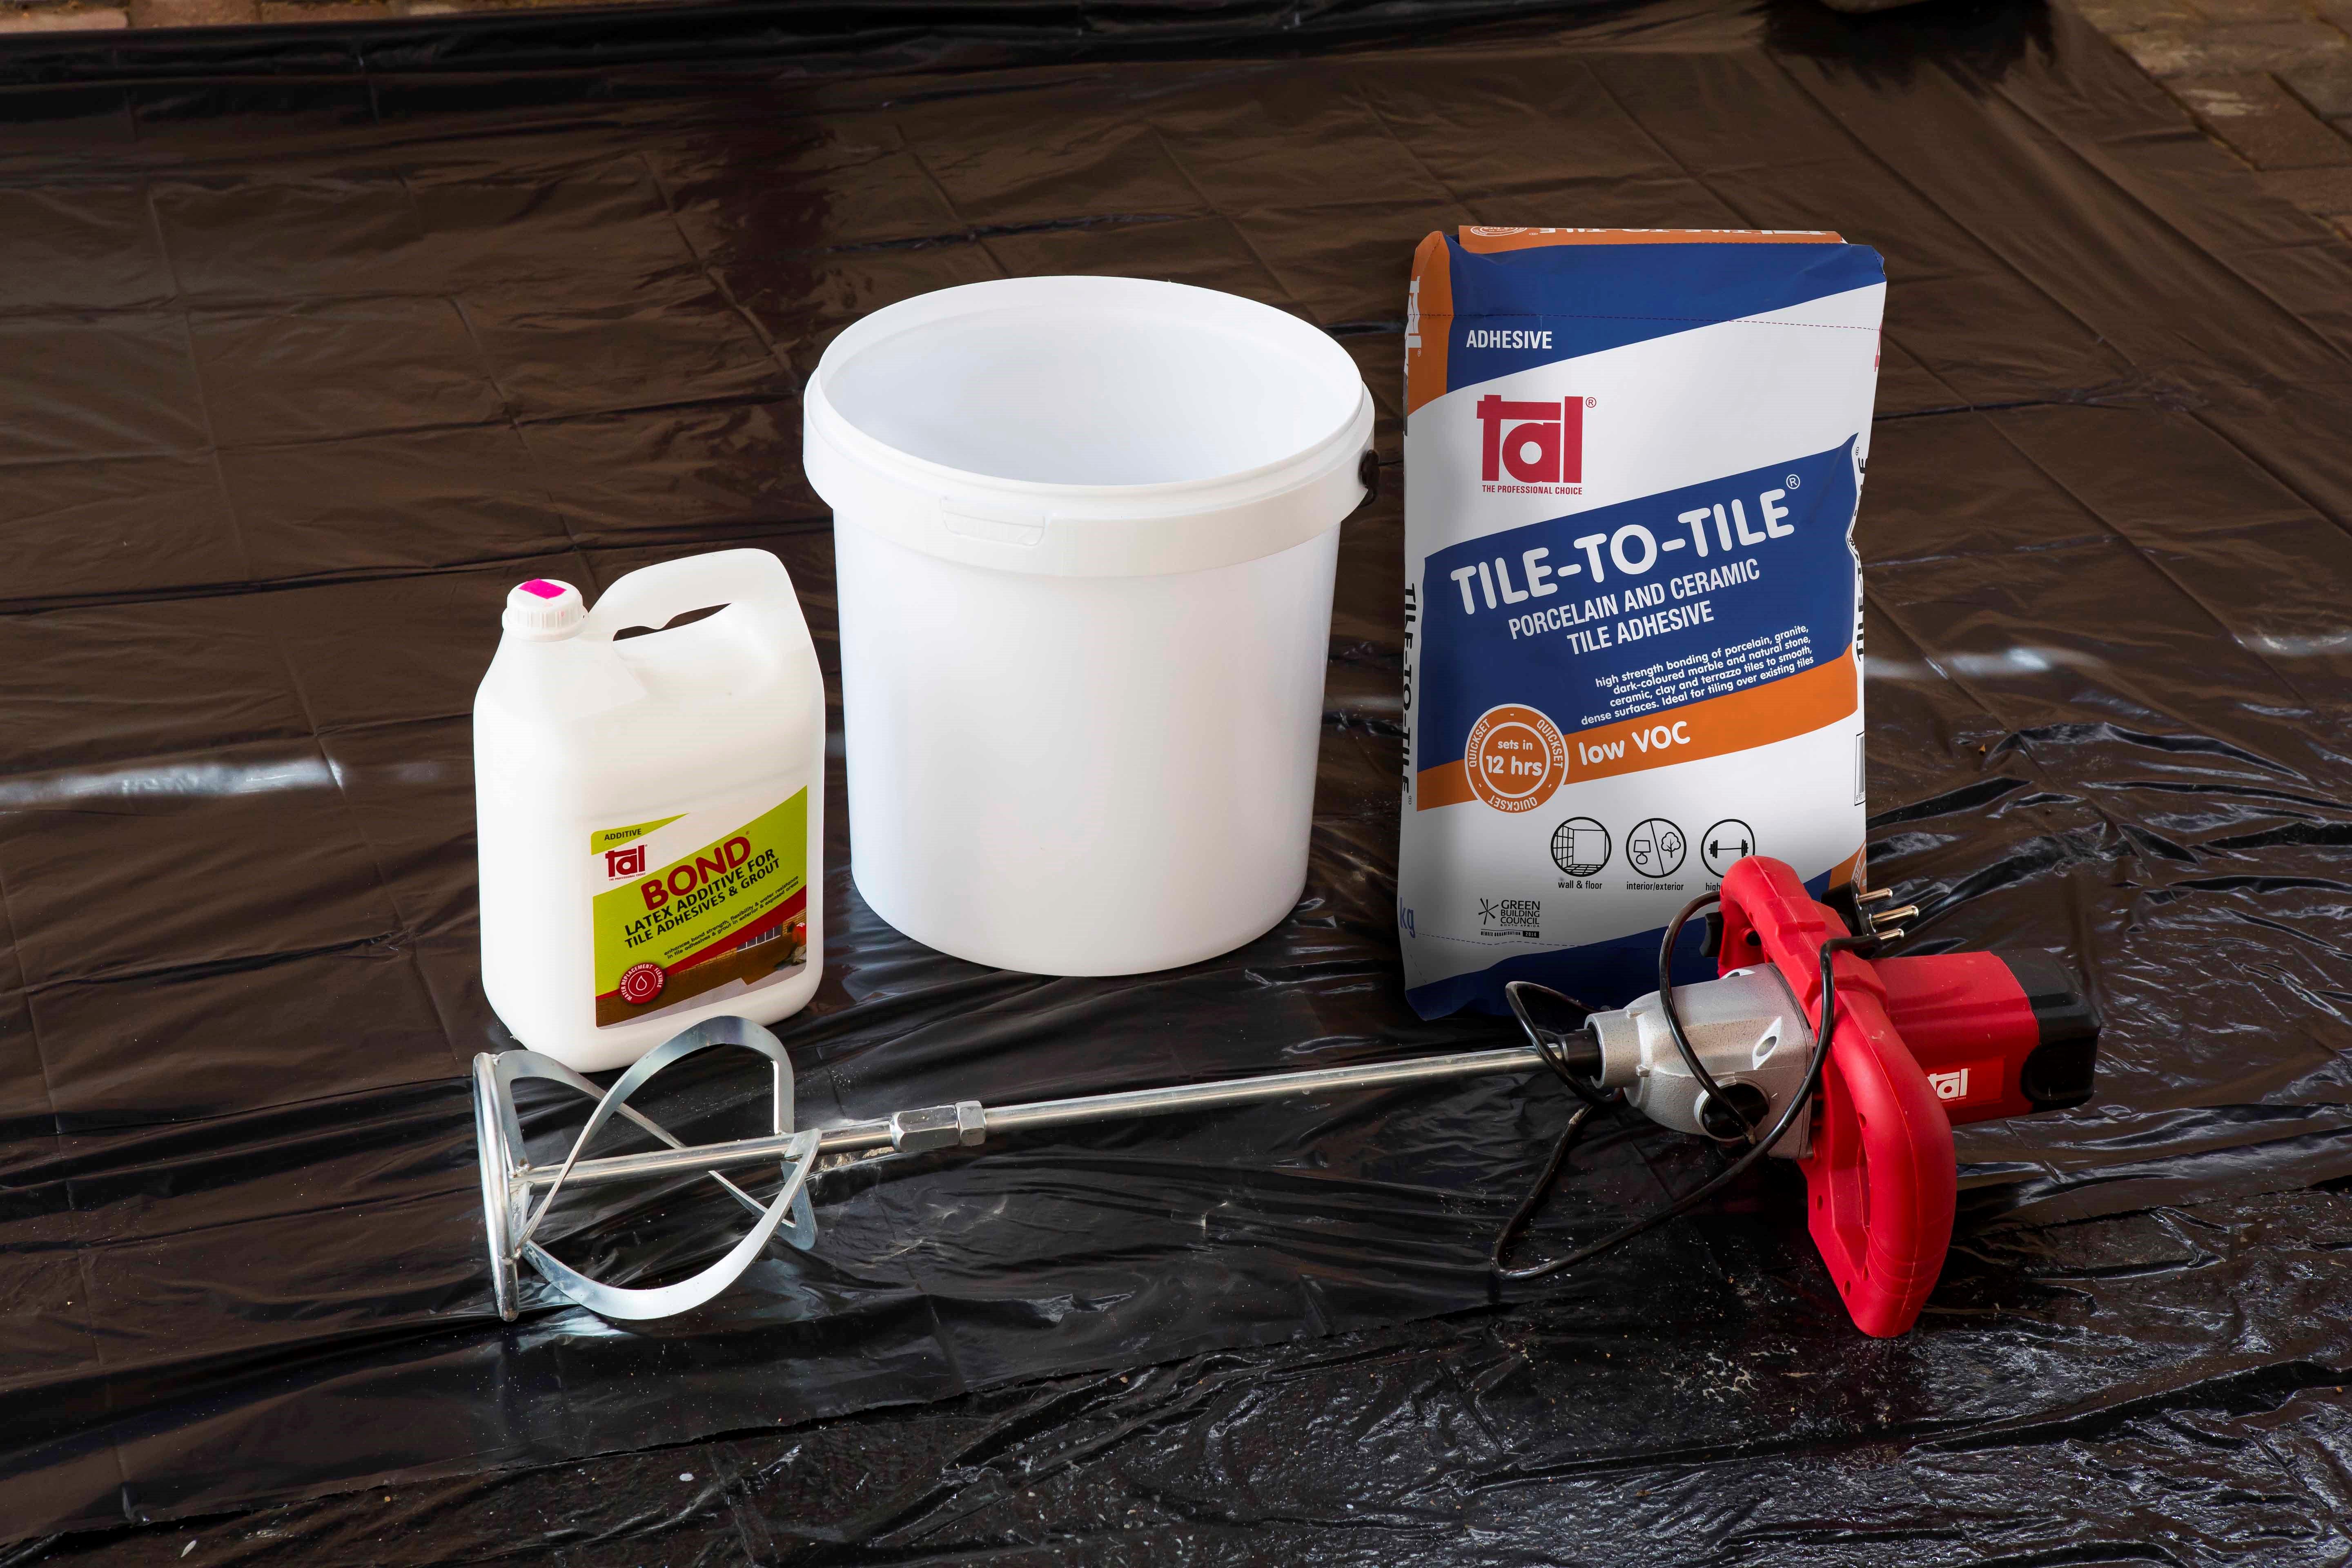
Adhesive system
When tiling onto existing tiles, it is important to only use a quick- or rapid-setting adhesive, as the existing tiles will present a dense, impervious surface, and standard-setting adhesives will take longer to dry. Too early trafficking of newly-installed tiles before the adhesive has set sufficiently can result in hollow-sounding or loose tiles.
Use TAL Tile-To-Tile quick-setting adhesive for tiling onto interior surface beds. When tiling onto suspended slabs and for external installations mix the TAL Tile-To-Tile with TAL Bond, replacing the water in the mix. Alternatively, TAL Bond Powder can be added to the adhesive mixing water.
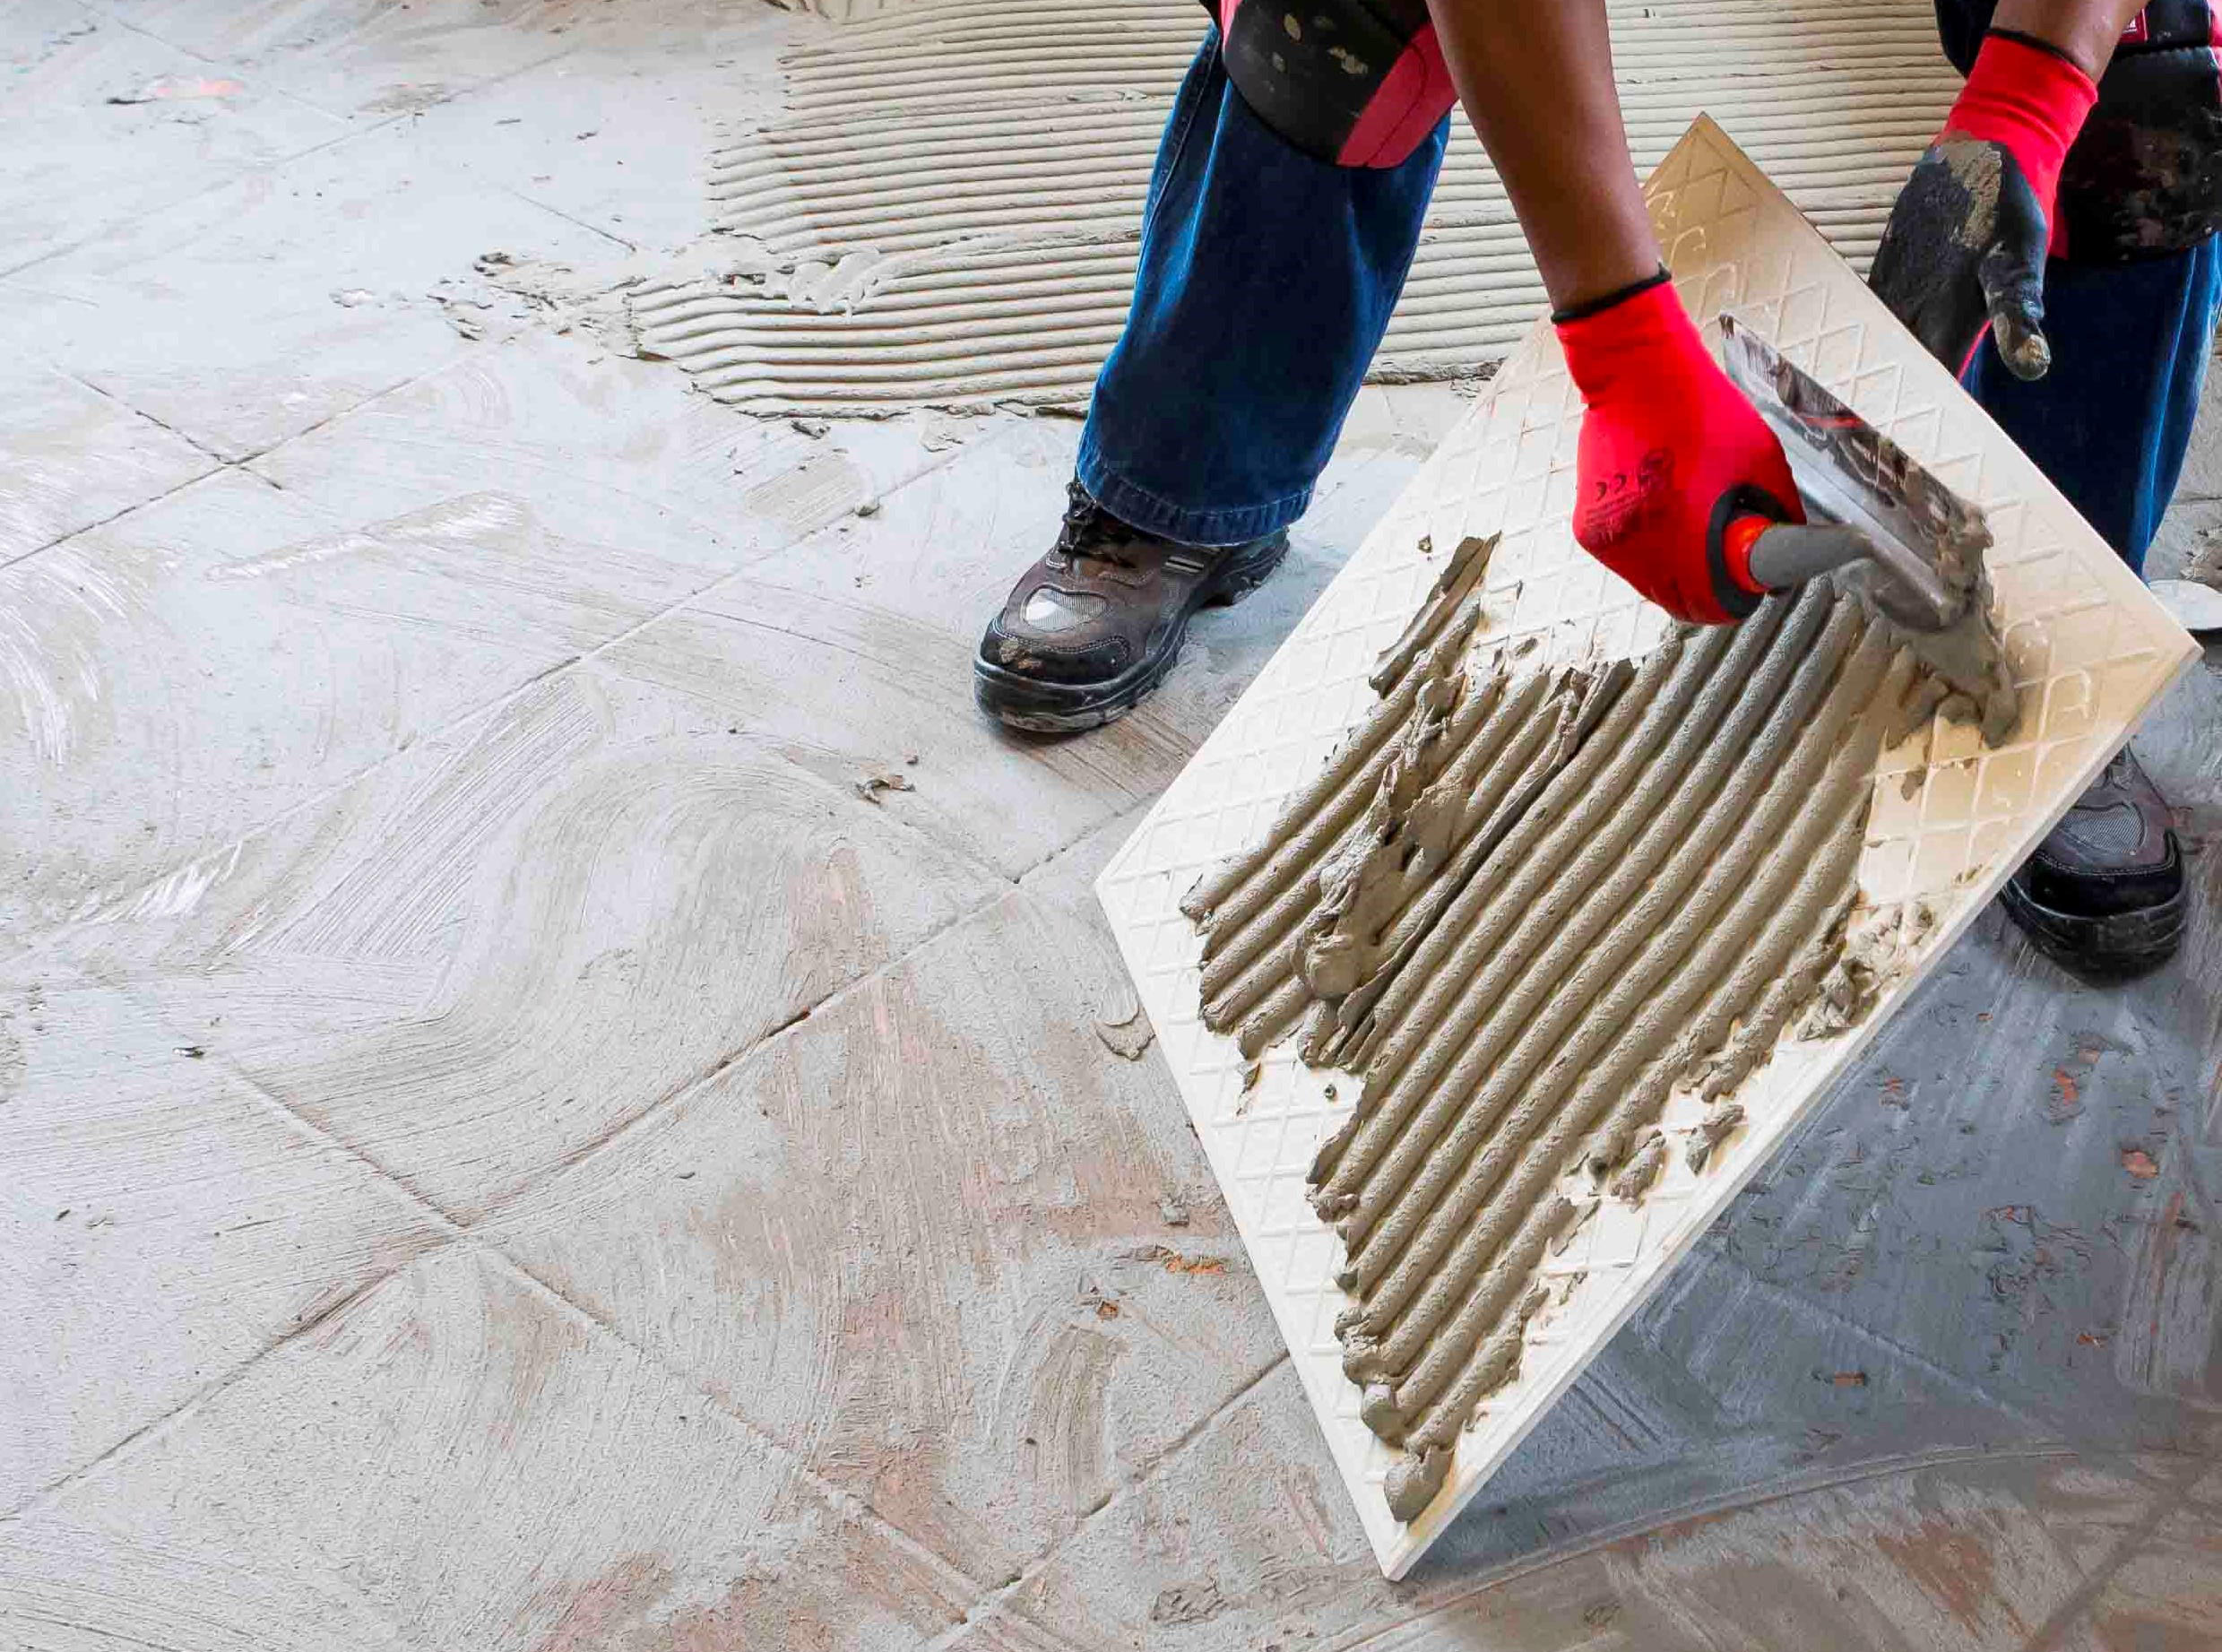
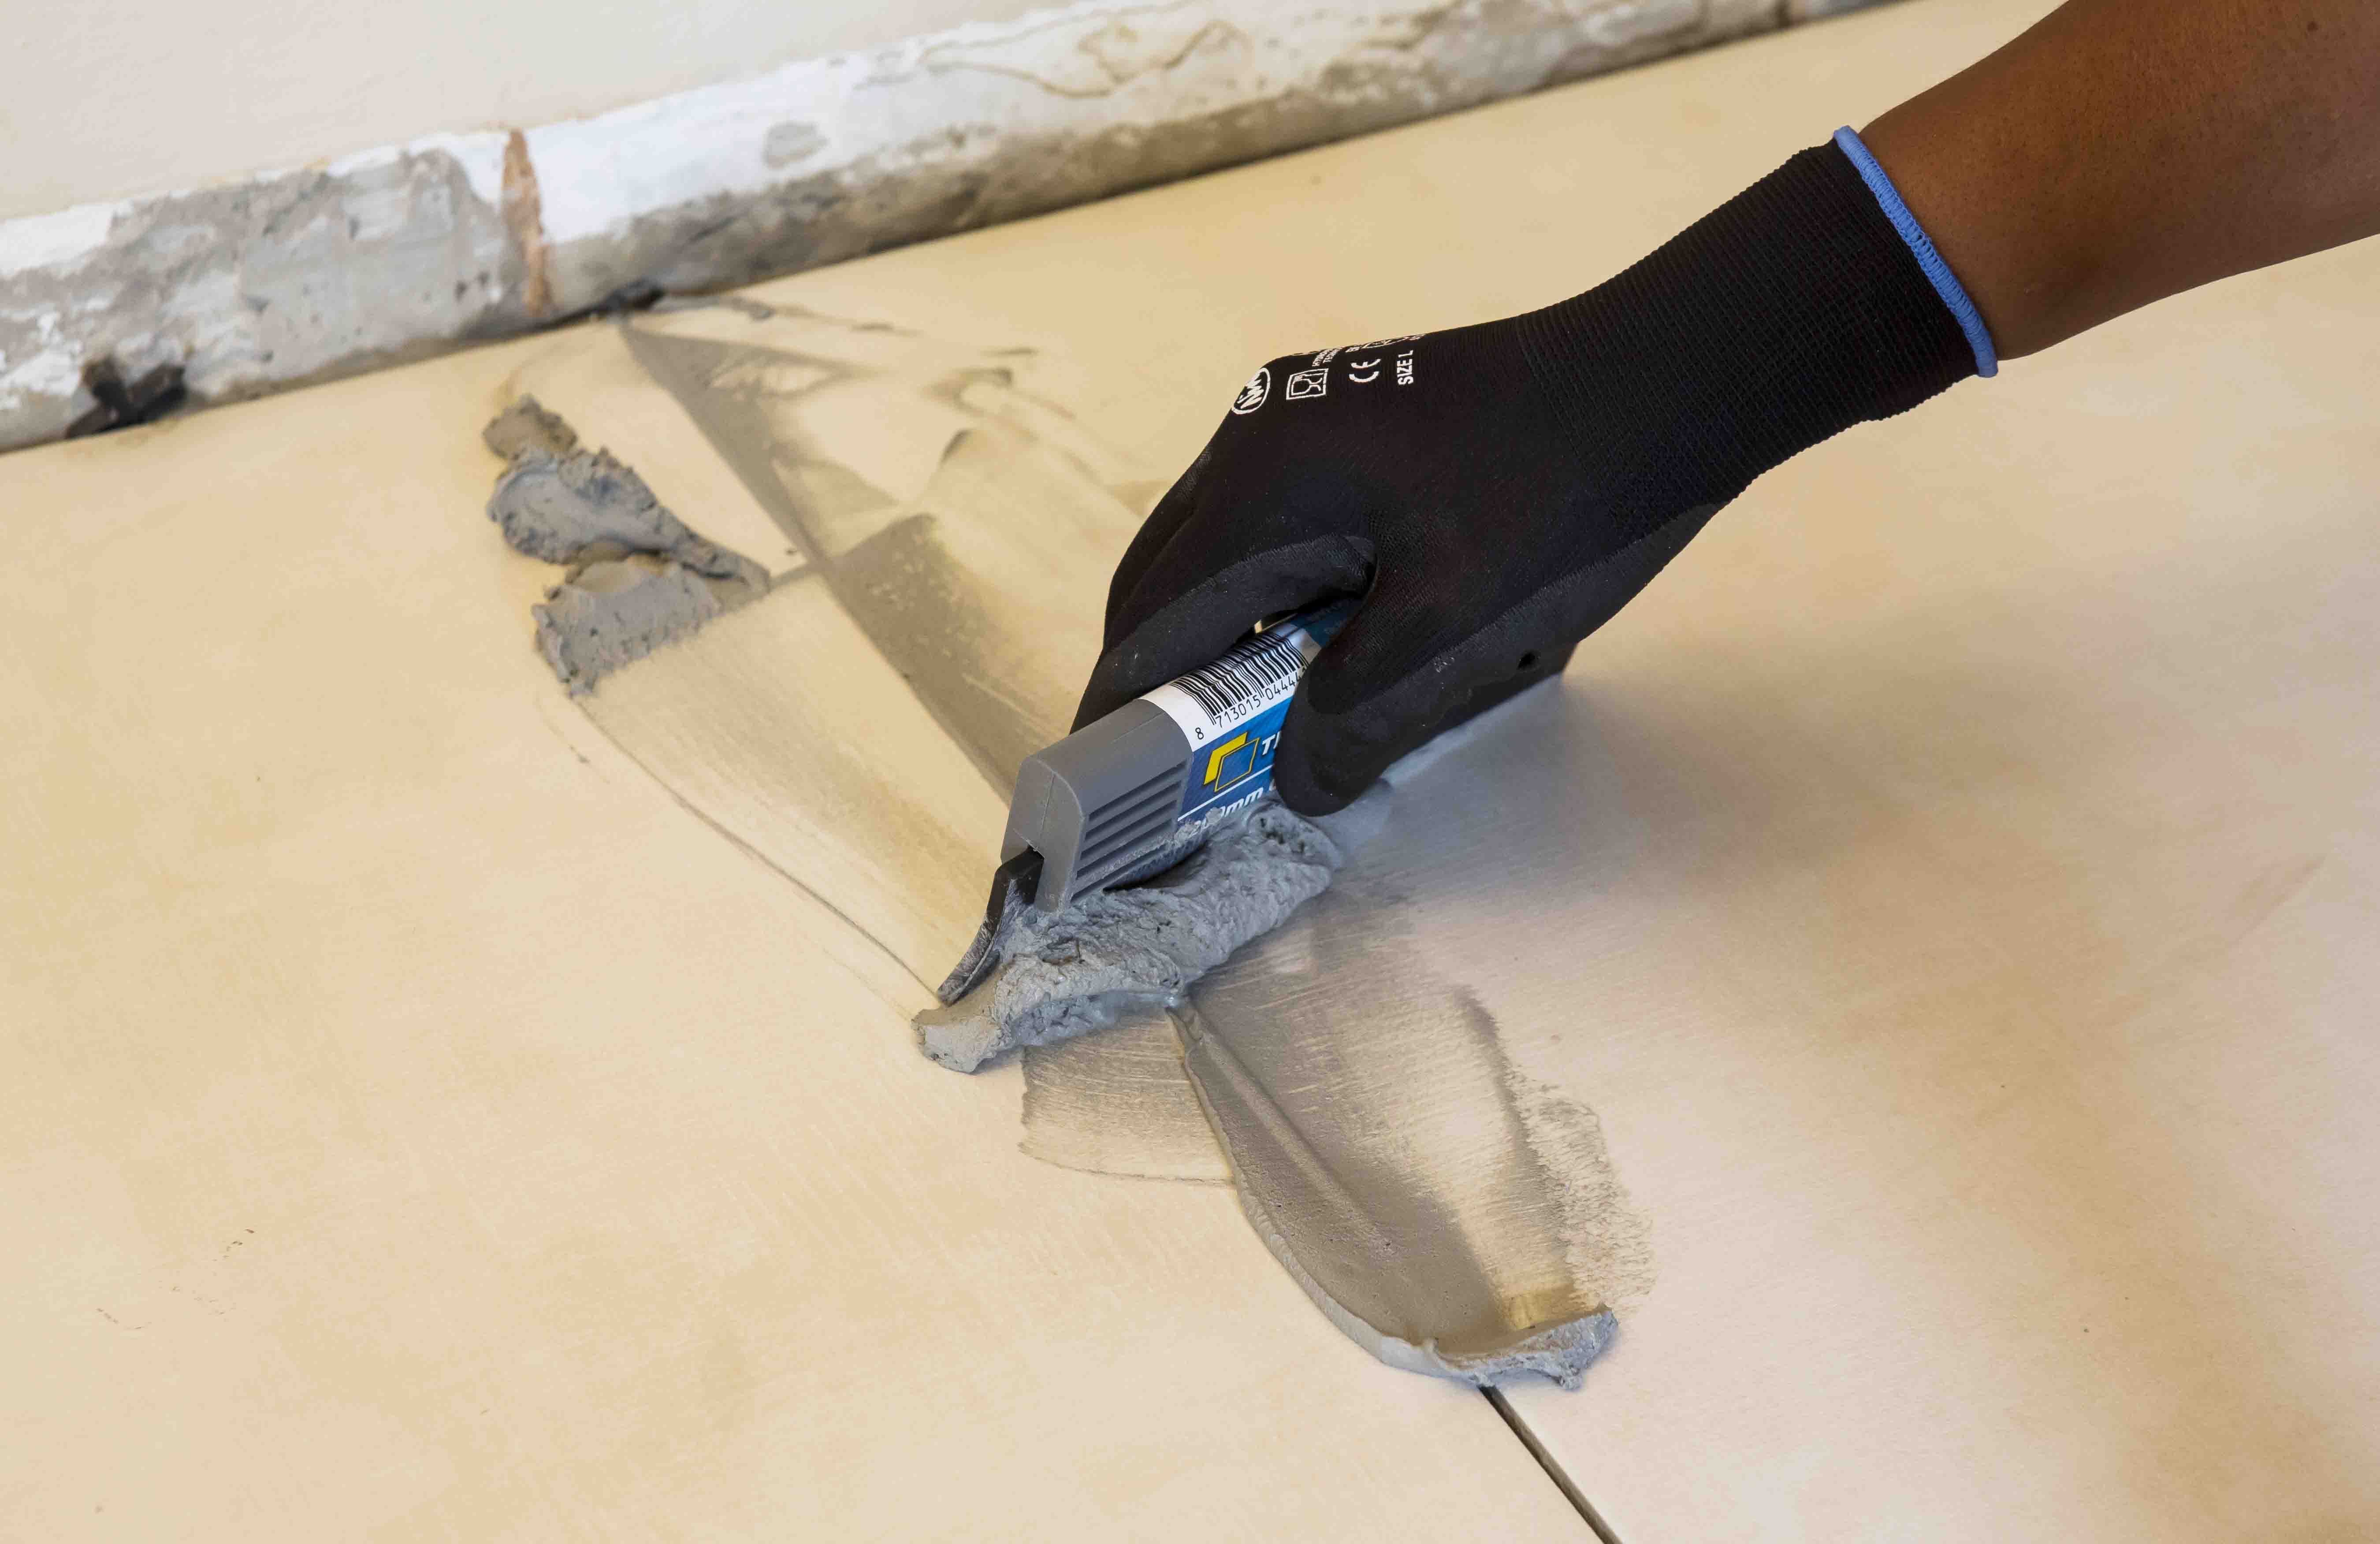
Ensure that there is a solid bed of adhesive at least 6 mm thick beneath each tile.
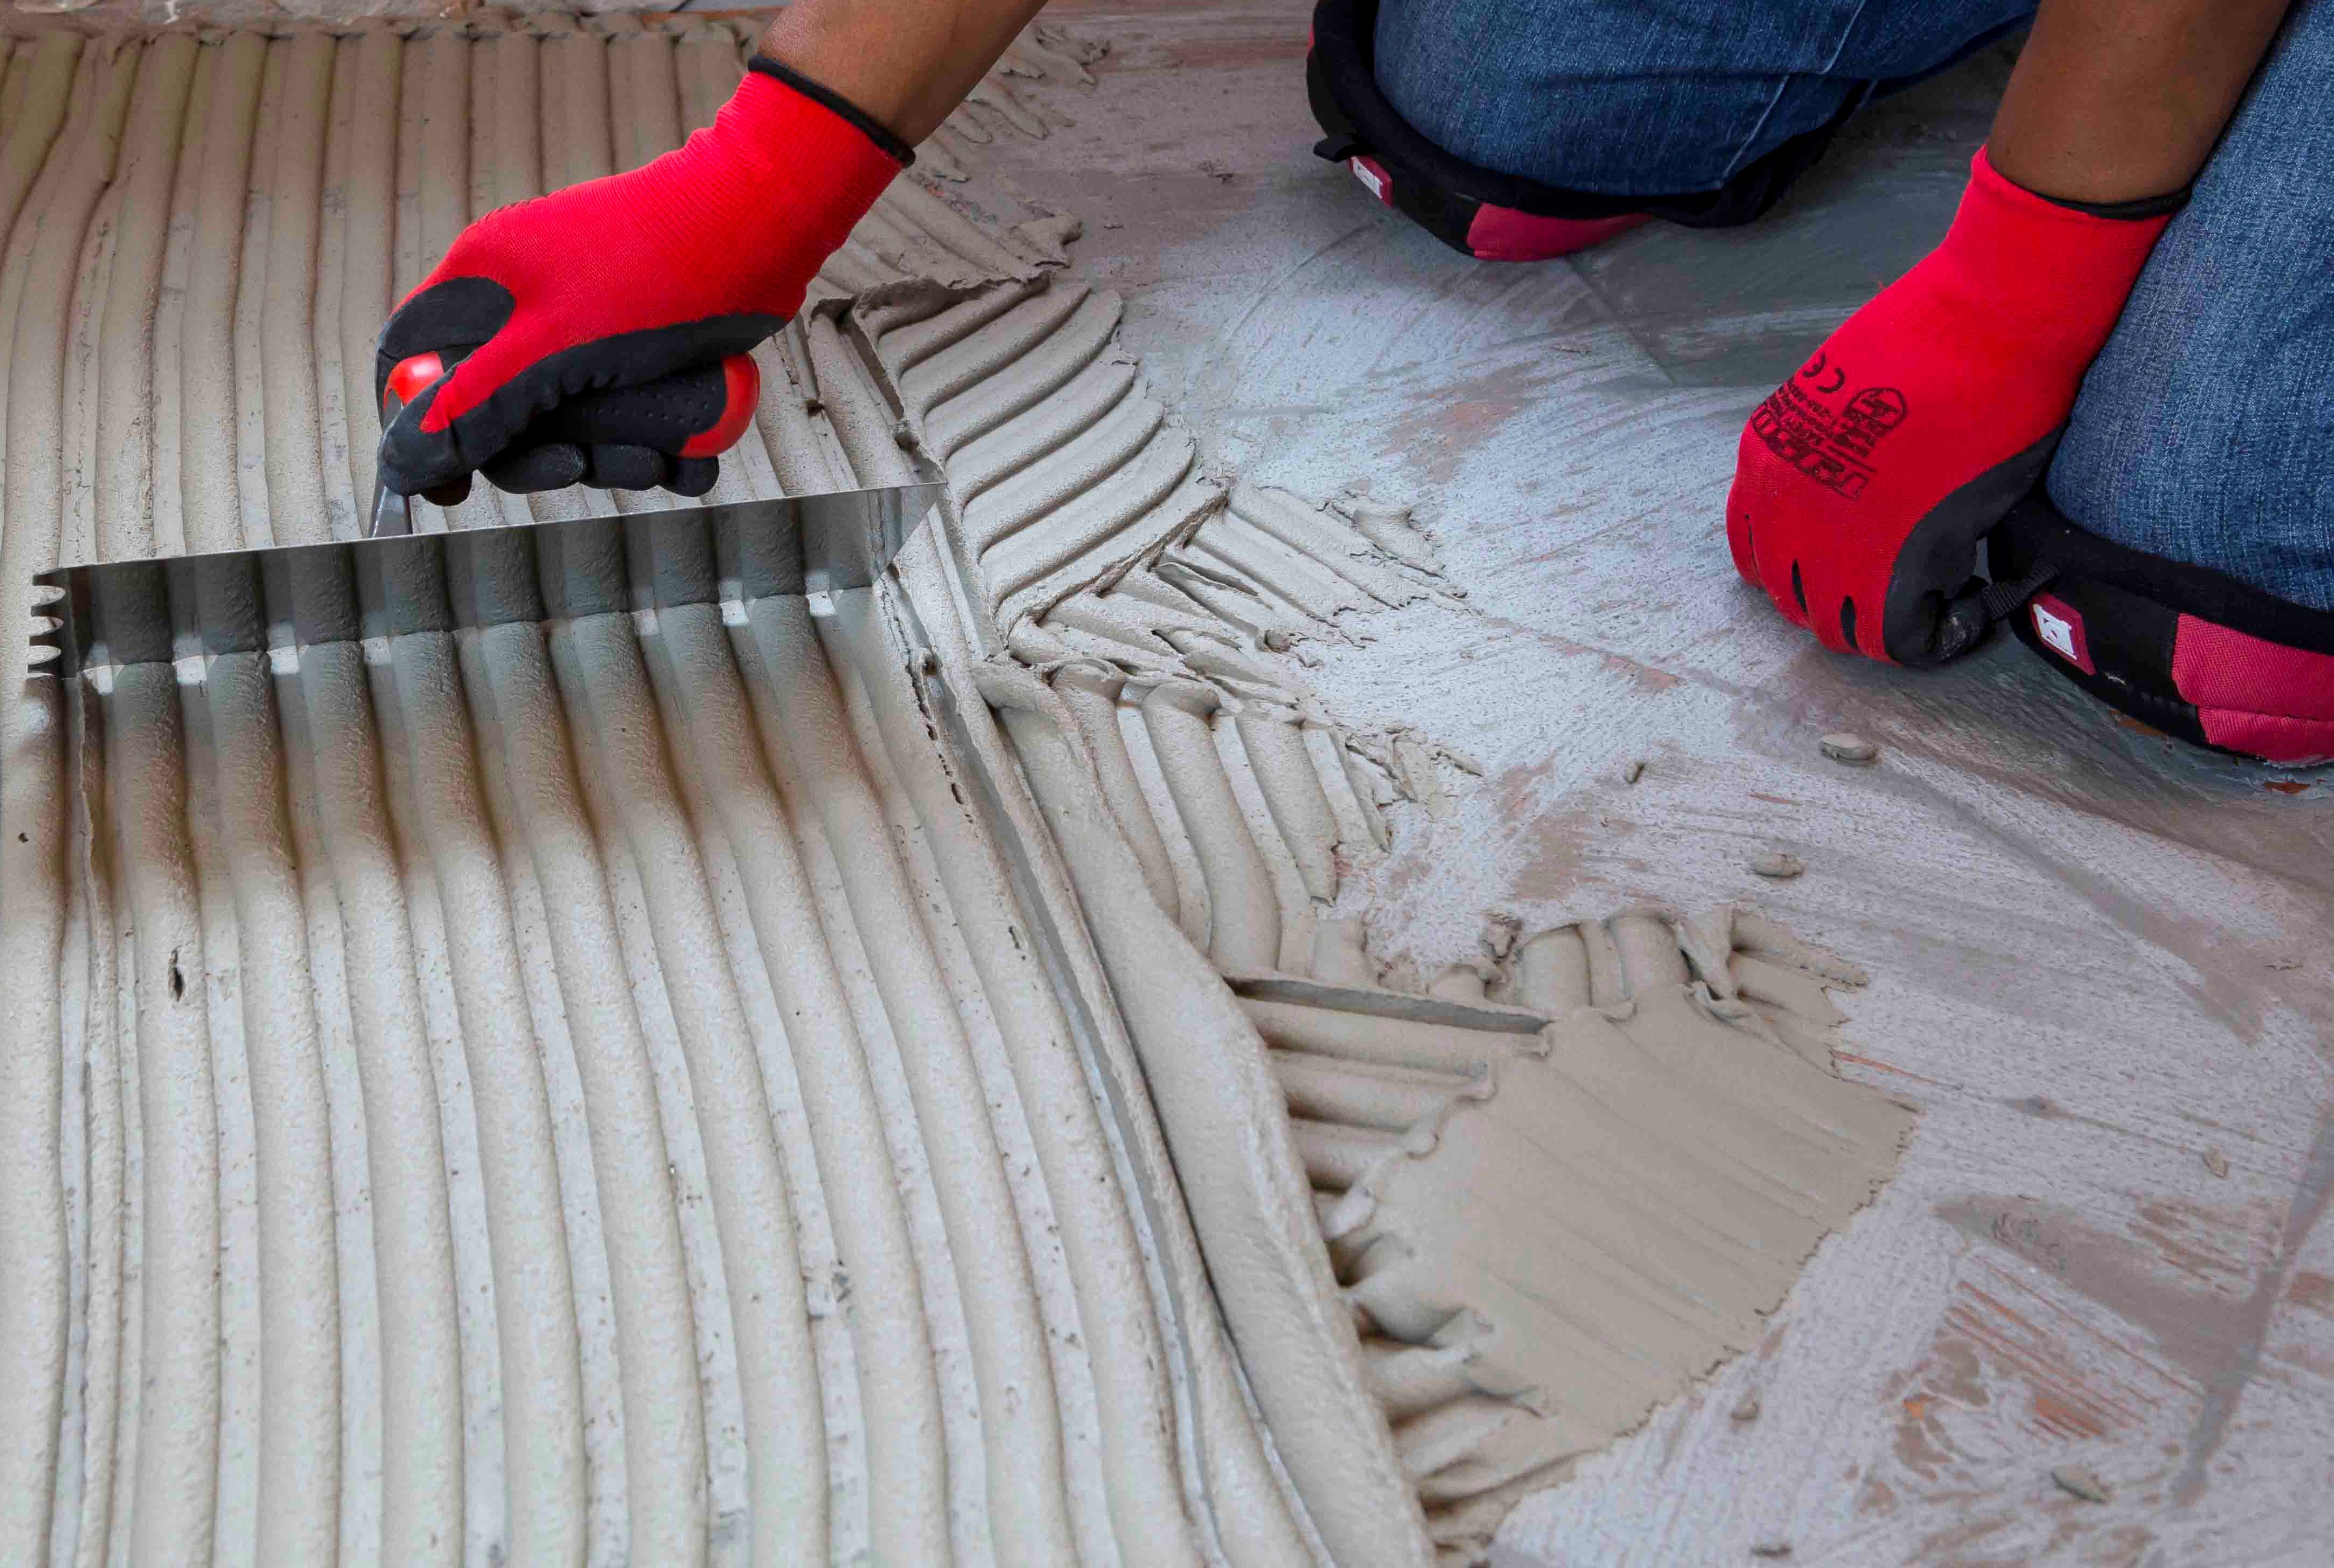
Back buttering with a thin coat of adhesive may also be required when using large-format tiles to ensure full contact with the adhesive bed.
Grouting
Grouting should not be carried out until the adhesive has set sufficiently to prevent the tile installation from being disturbed during the grouting operation (always refer to the adhesive packaging for setting times). When using TAL TAL Tile-To-Tile, allow a minimum of six hours before grouting.
For interior surface beds, use TAL Wall & Floor Grout for filling tile joints up to 8 mm wide. TAL Quarry Grout can be used in wider joints up to 25 mm wide. On suspended slabs and for external installations, replace the water in the grout mix with TAL Bond, or add TAL Bond Powder to the grout mixing water.
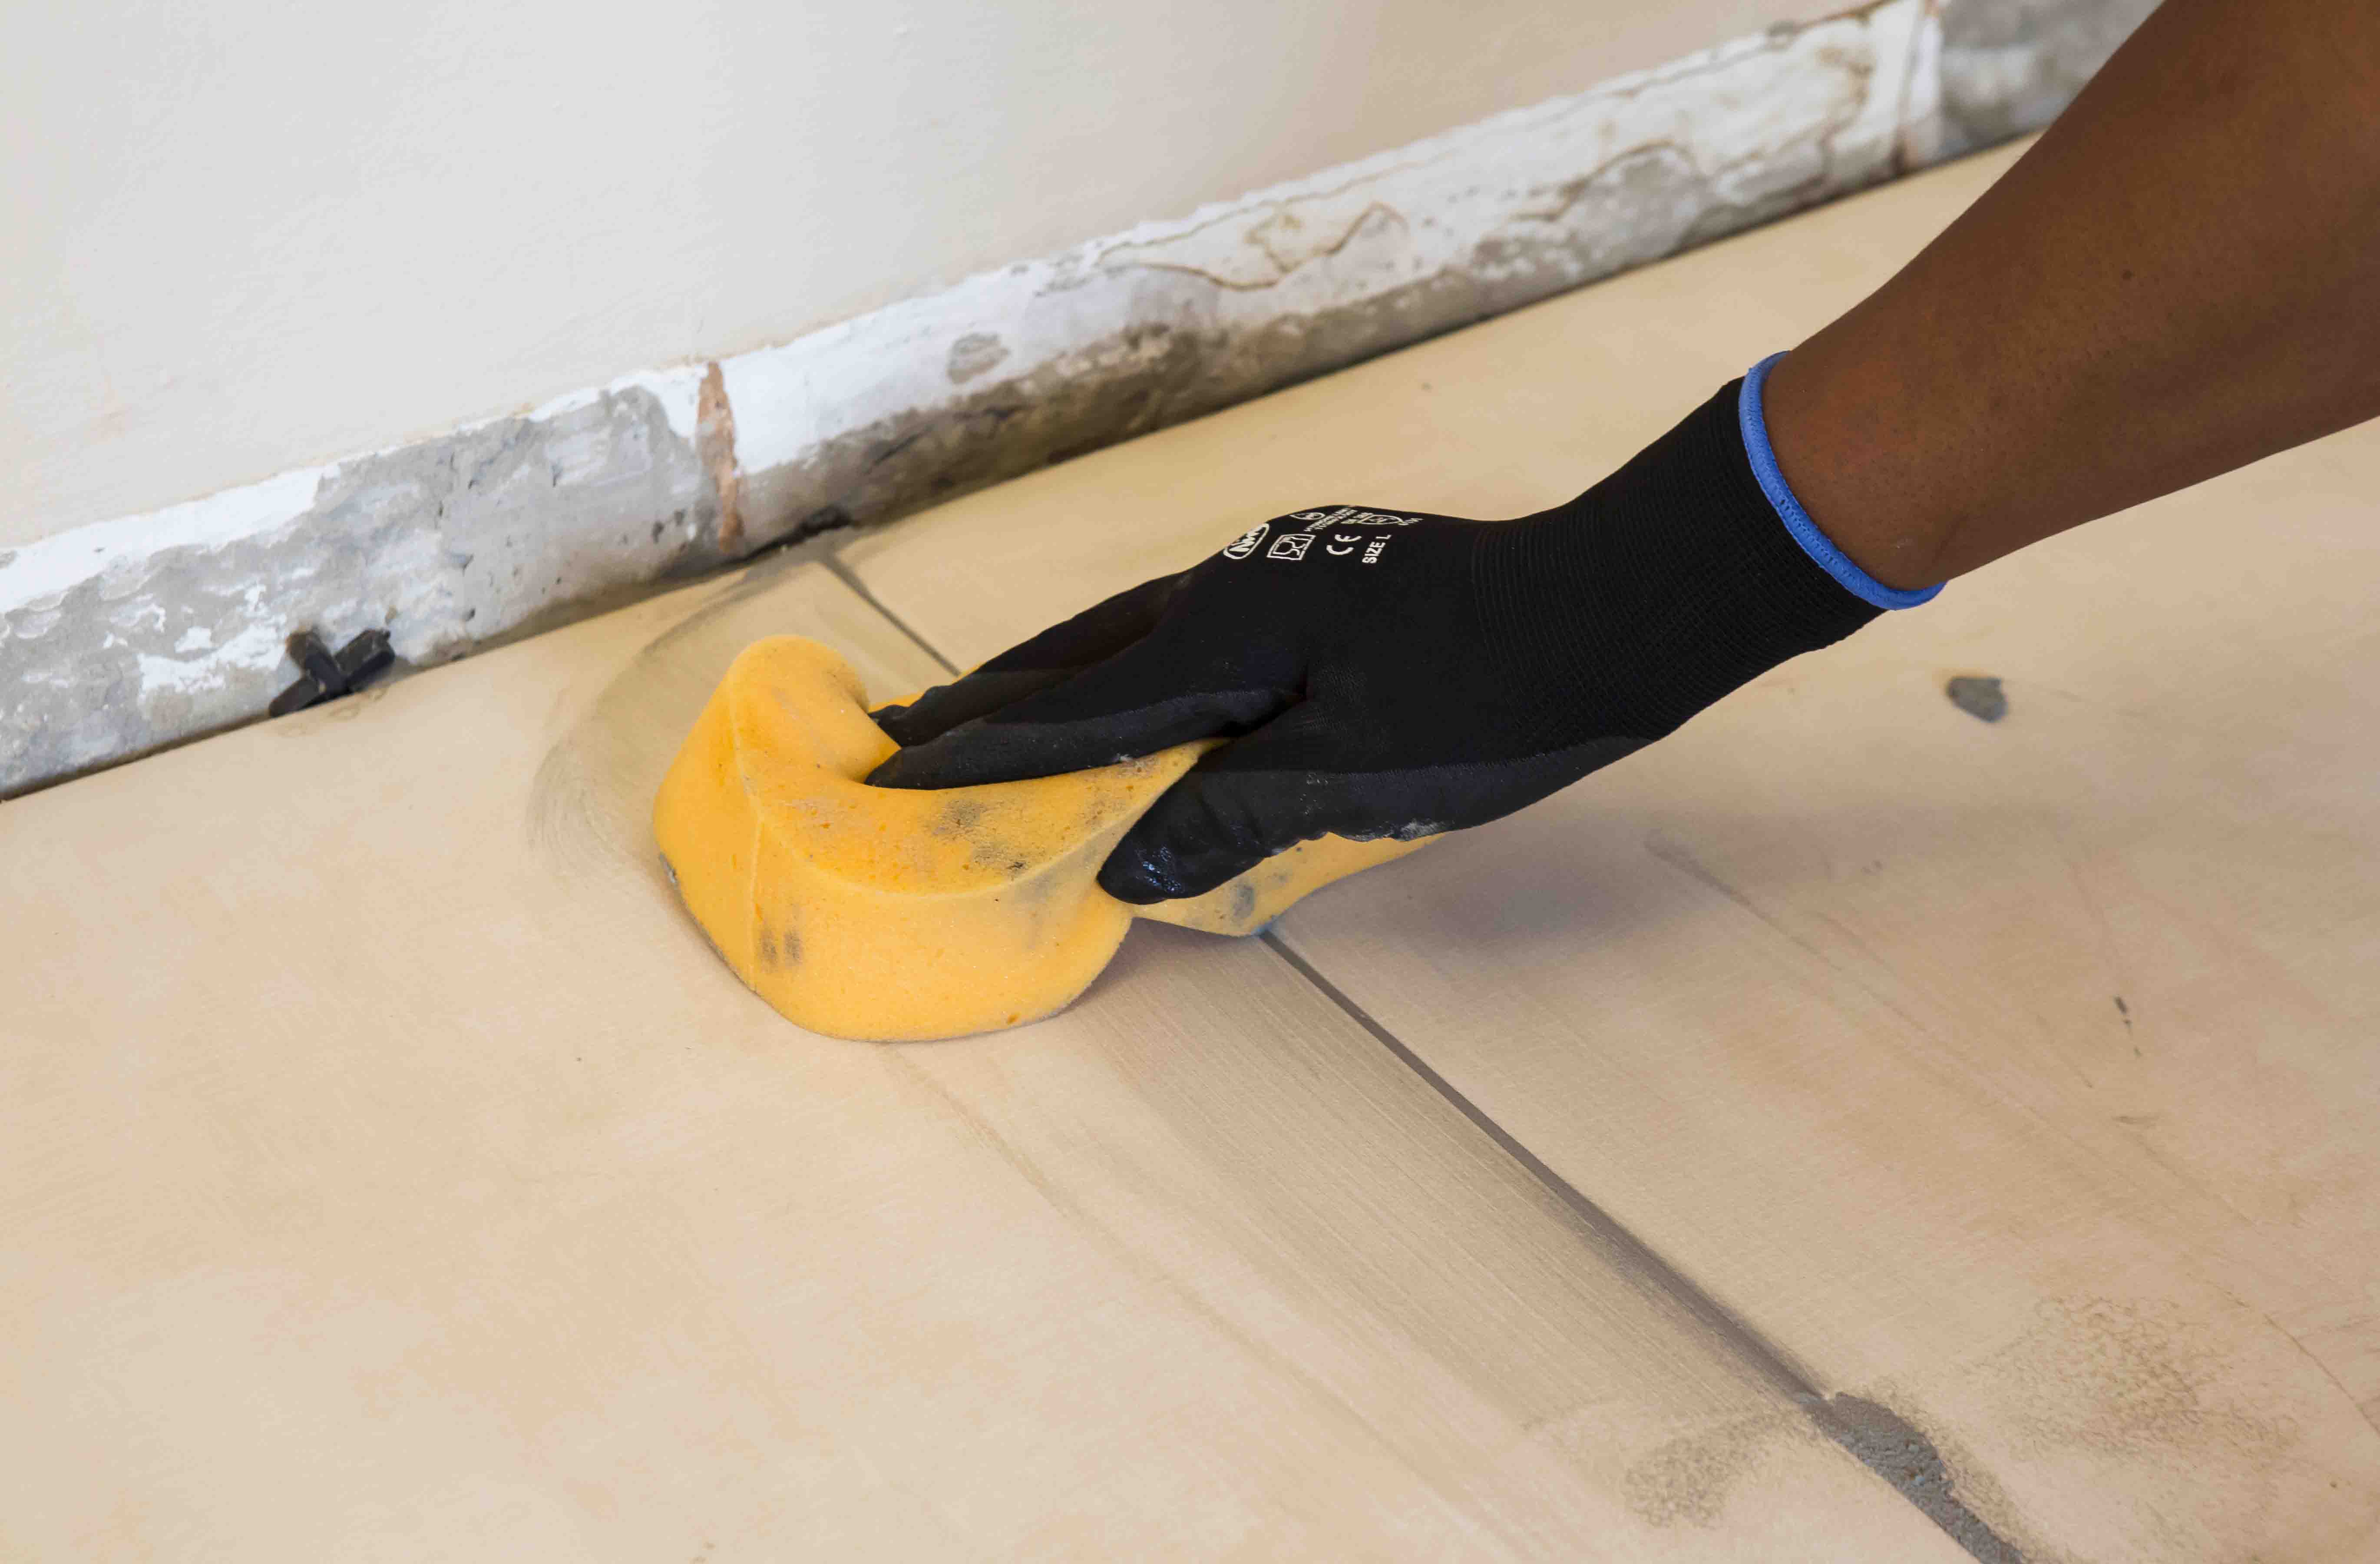
Particular care must be taken to clean the grout off the tile face before it hardens completely. This is especially important when an additive such as TAL Bond or TAL Bond Powder has been used. A tile sample should be tested beforehand to ensure that no grout is absorbed through the glaze or into the tile body, thereby staining the tiles permanently.
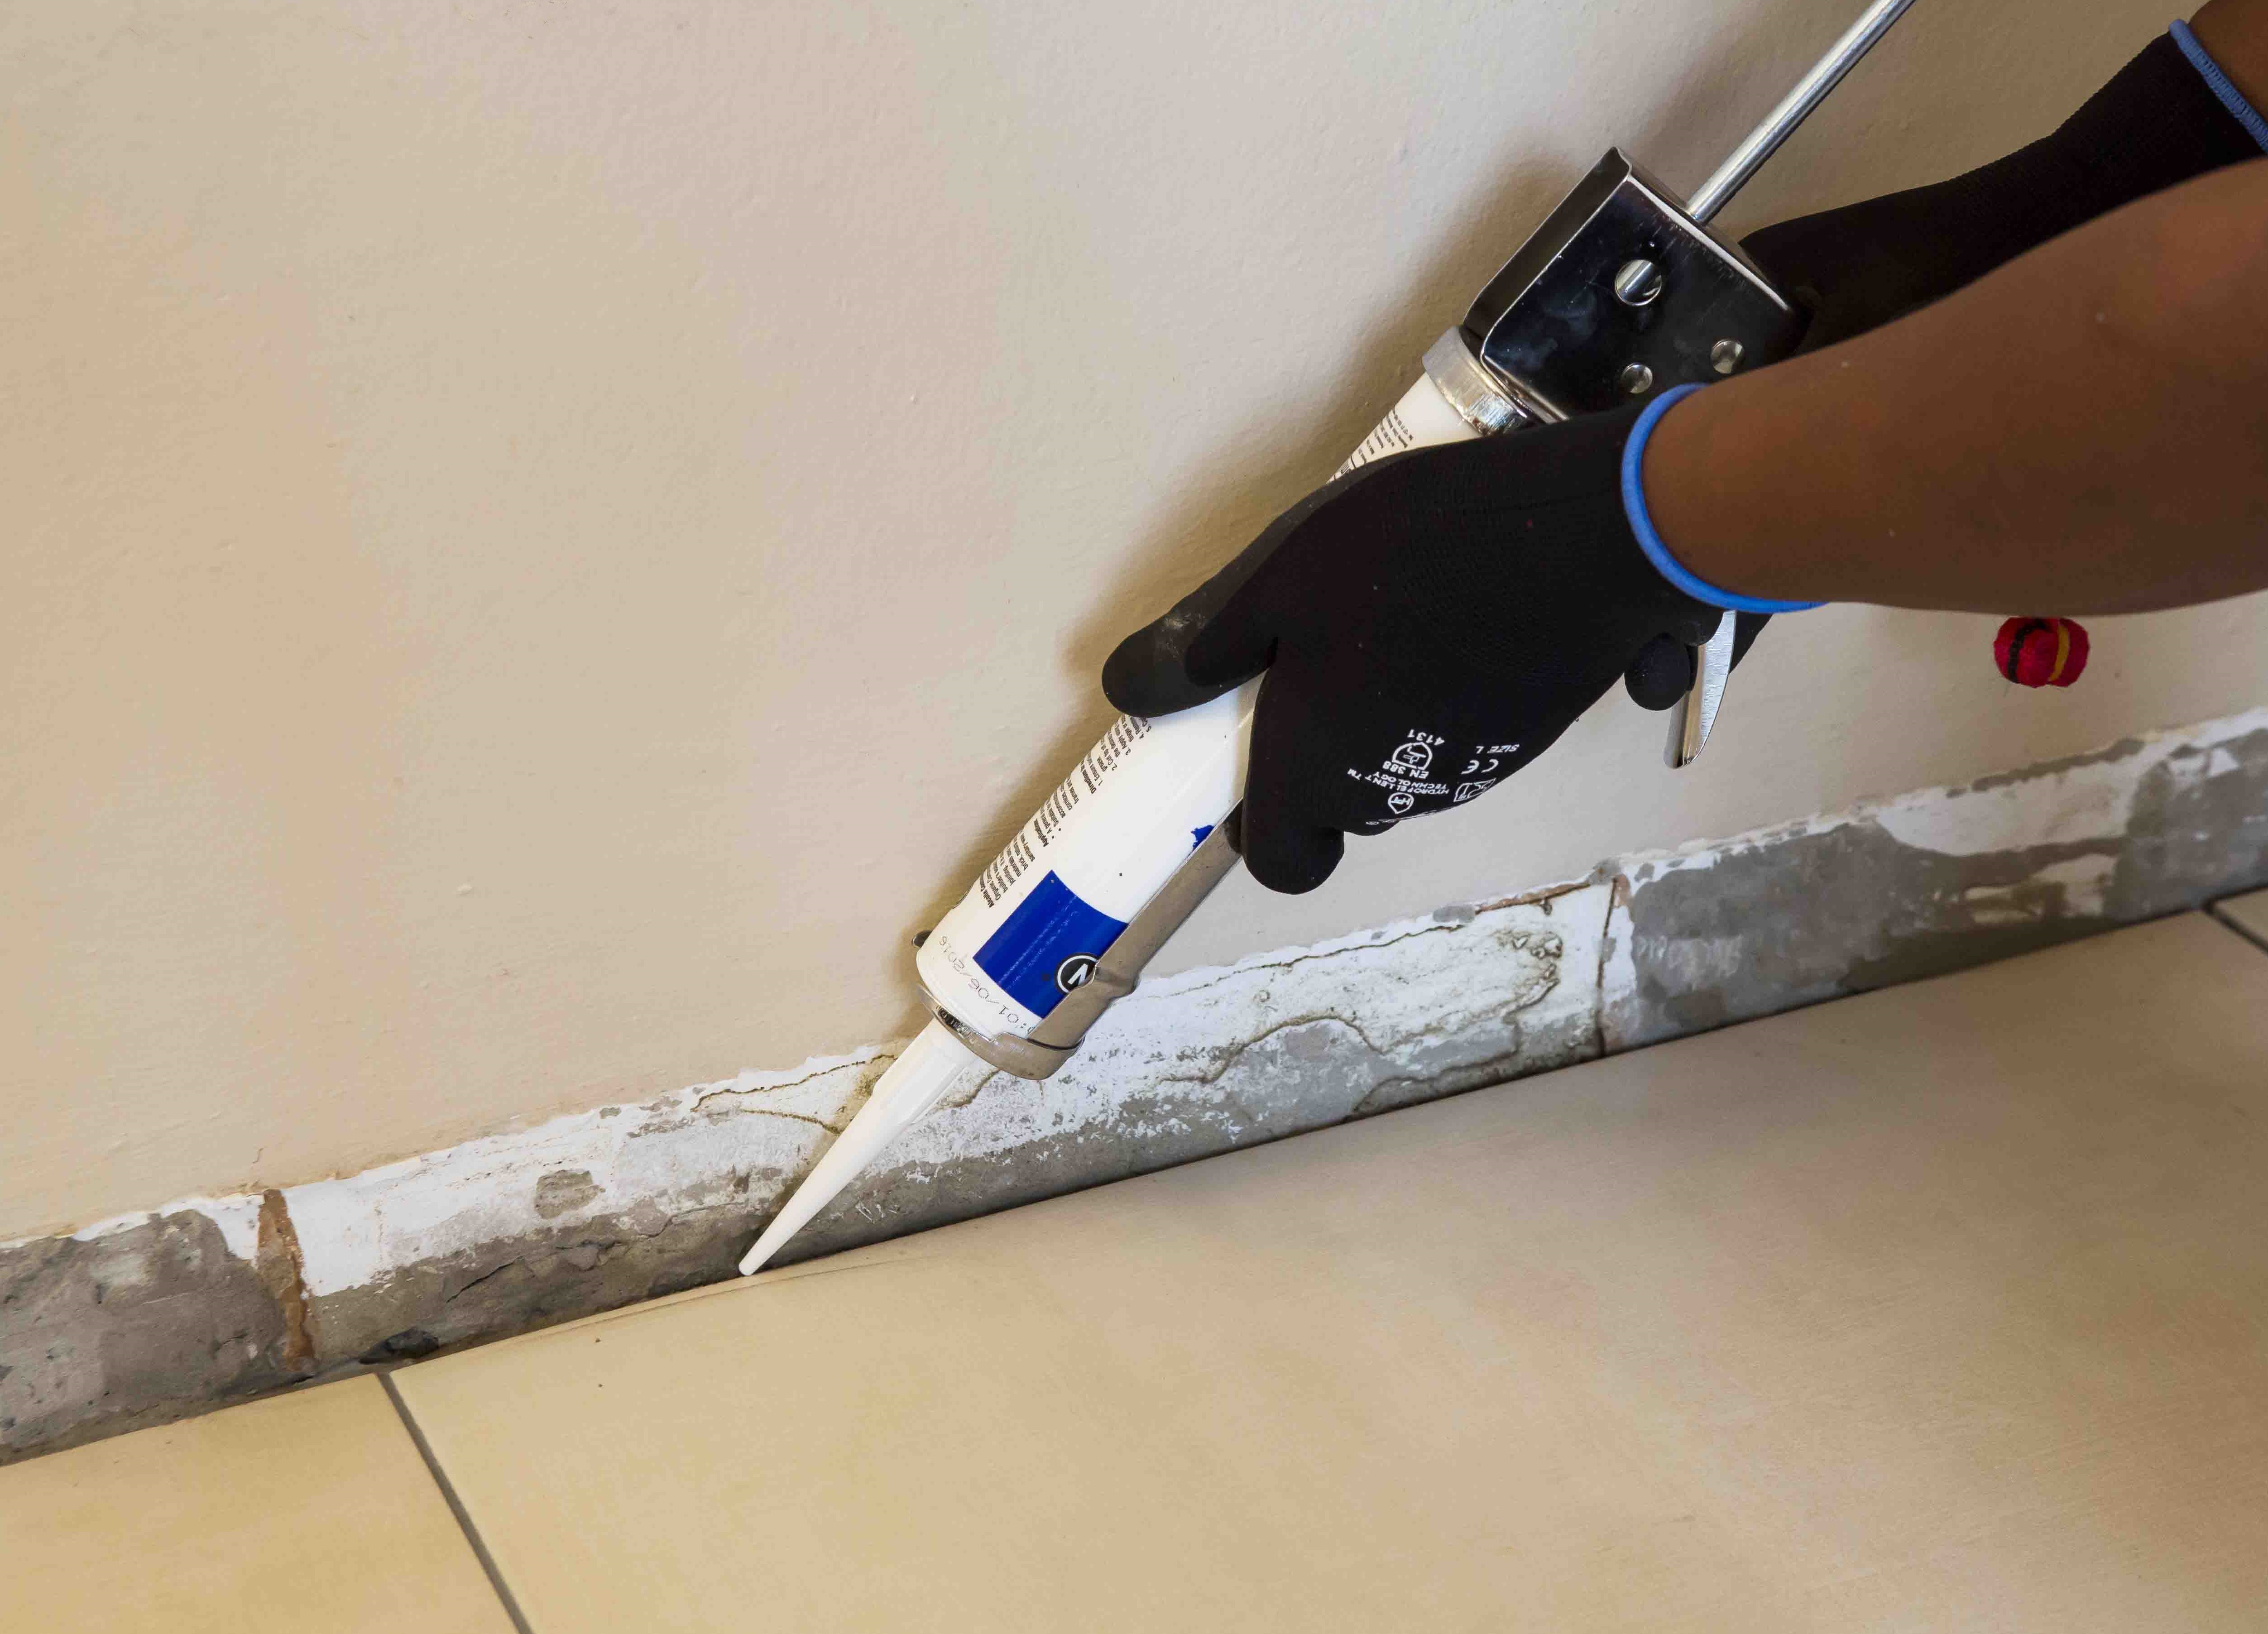
Movement joints
The lack of movement joints in tile installations is a major cause of tile failure. When tiling over existing tiles, the existing structural and movement joints must be maintained in the new tile installation. The movement joints should be at least 5 mm wide and extend through the adhesive and both tile layers.
[Back]
blog comments powered by Disqus


