
How to replace a cracked or broken tile with TALFIX
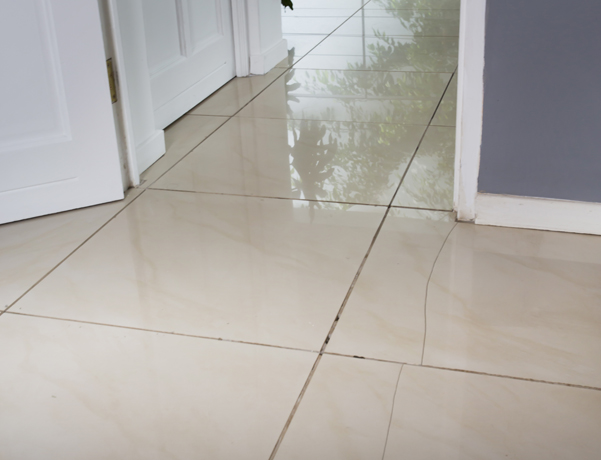
Cracked, chipped and broken tiles are not only unsightly, but if in an outside area, there is an added risk of water penetration into the tile installation, which could lead to further damage. Replace broken tiles immediately to avoid this.
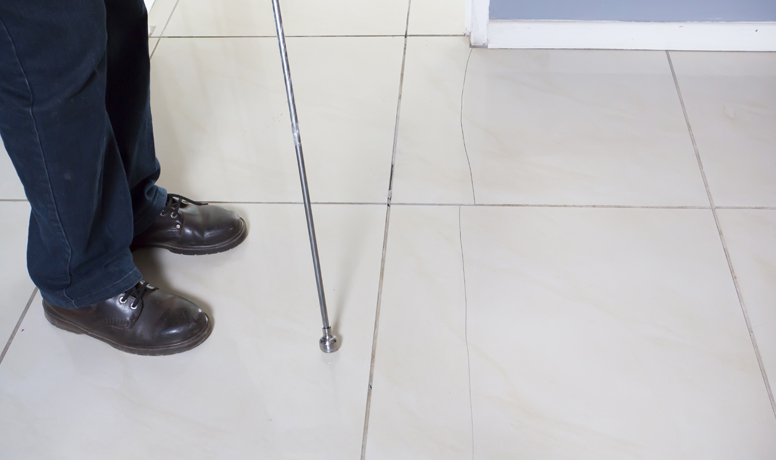
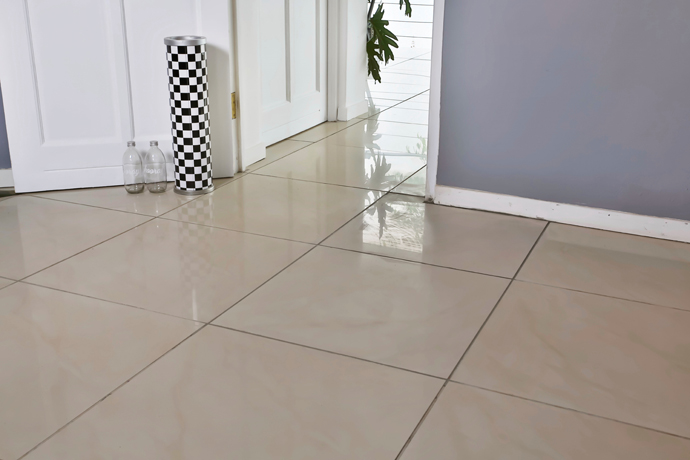
Check the surrounding tiles, if they sound hollow you may have a bigger problem and should consider getting professional advice.
Ideally you will have spare tiles saved from when you tiled originally, which can now be used as replacements for tiles that are damaged over time. Otherwise, look for a similar tile that will blend in with the existing tiles.

If you know the original grout brand and colour, use it. Or try to make a match as best as you can to the existing grout.
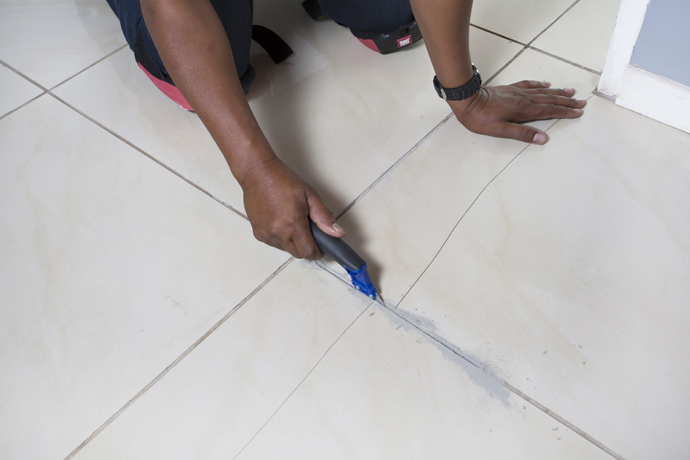
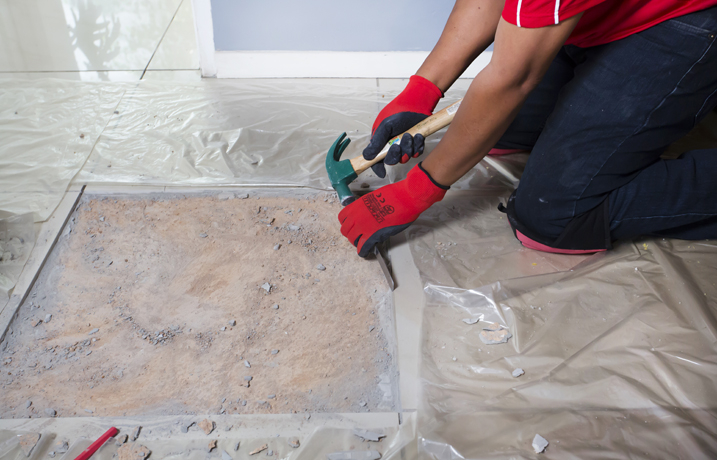
Start by removing the grout from around the cracked tile using a grout rake. Carefully rub the blade back and forth in the middle of the grout joint being careful to avoid touching the edges of the tiles. Remove the grout all the way to the substrate.
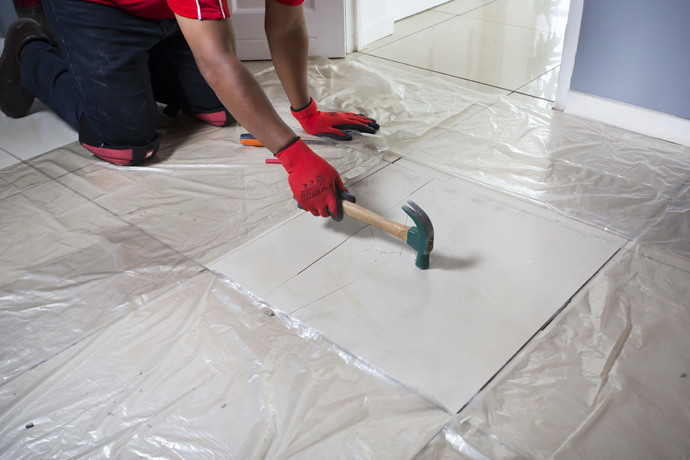
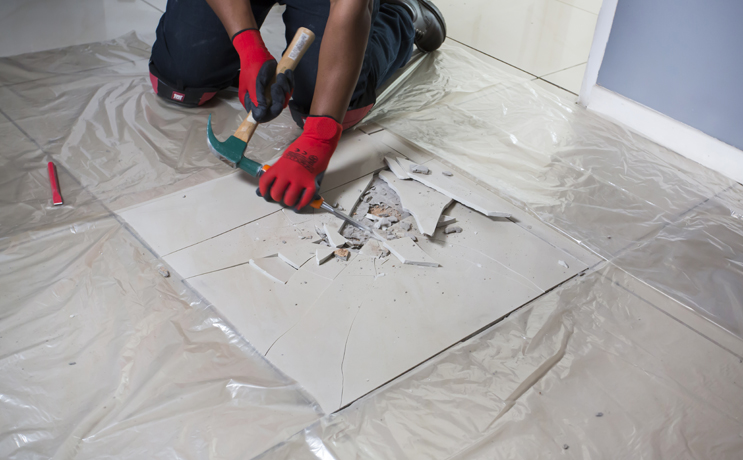
Once the grout has been removed, cover the surrounding tiles to protect them, then break the damaged tile with a hammer and remove the fragments with a chisel. Work from the centre out to avoid damaging the surrounding tiles.
 |
 |
Next, remove any adhesive that remains on the substrate and make sure the surface is clean and dry.
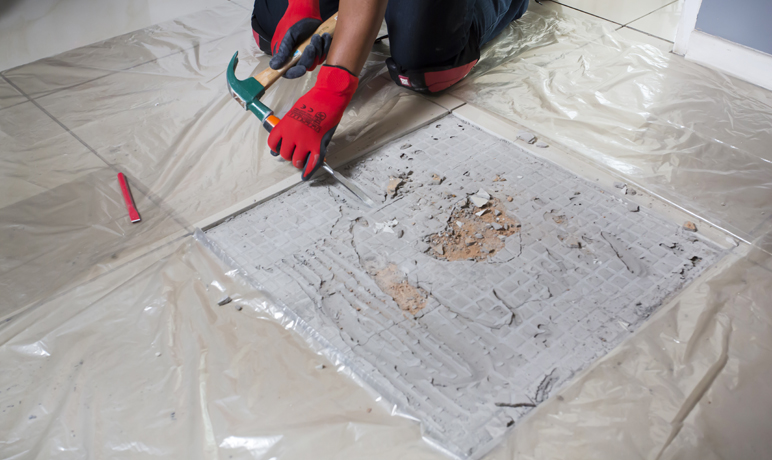
Working carefully, remove the grout that remains attached to the sides of the adjacent tiles using a small chisel and hammer.
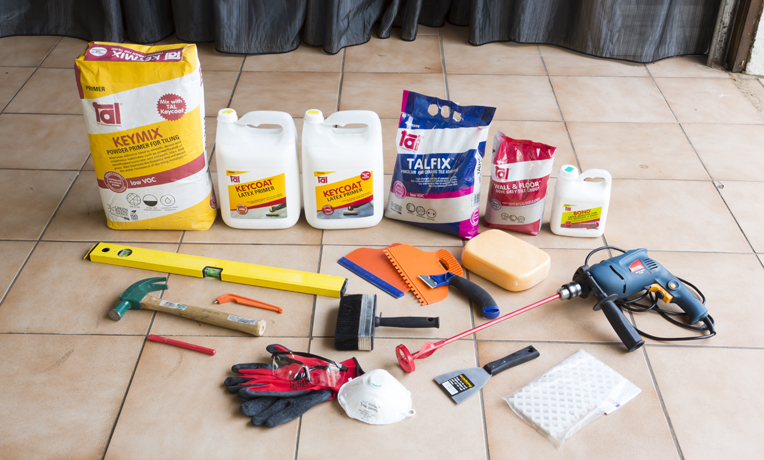
Prime the cleaned area with a slurry of TAL Keycoat and TALFIX or TAL Keymix.
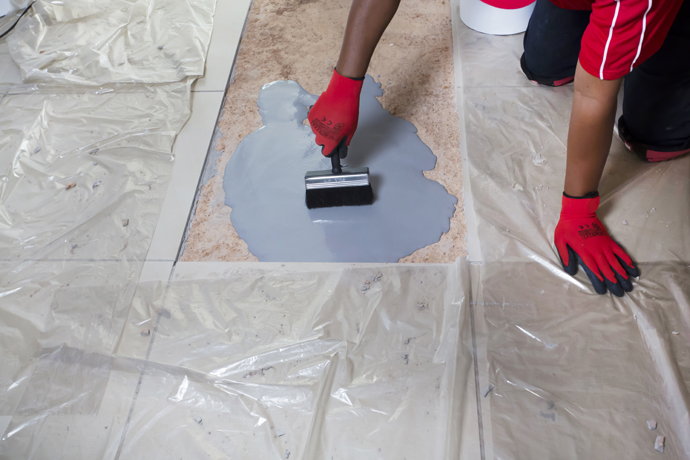
When the slurry is touch dry you can install the replacement tile.
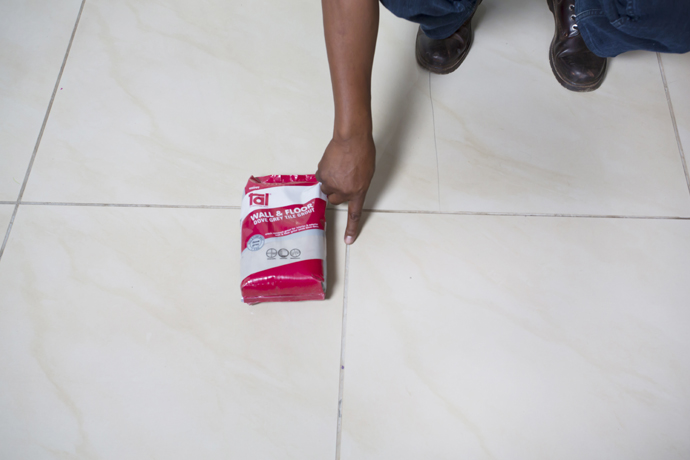
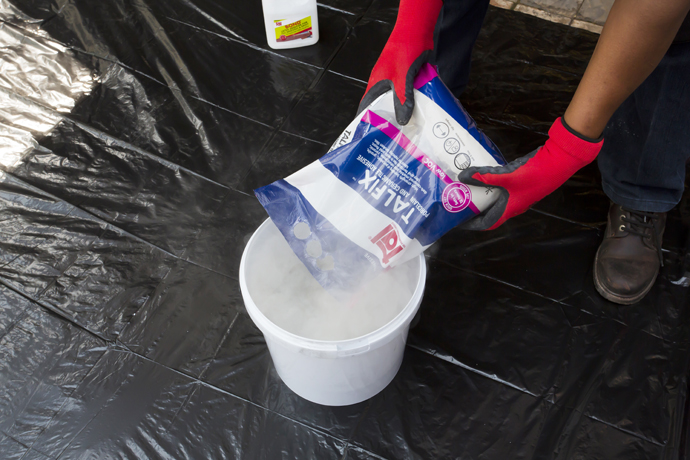
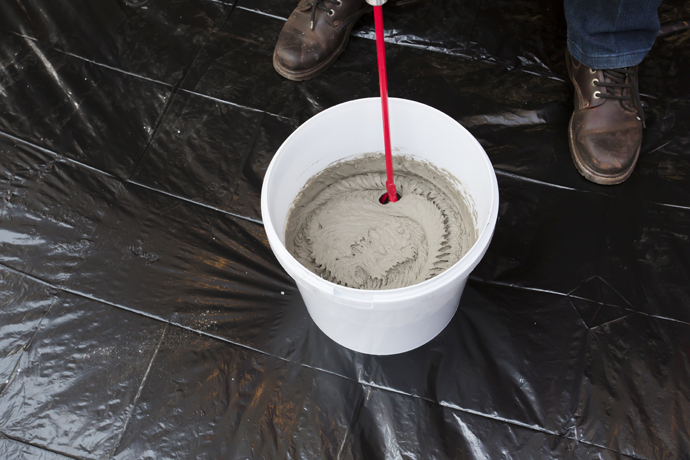
Use TALFIX, which is available in a handy 5kg bag, ideal for small projects like this. Pour 1.25 L of TAL Bond into a bucket then add the 5kg bag of TALFIX. Mix with a mechanical mixer to a creamy, lump-free consistency. Wait for 3-5 minutes and mix again.
 |
 |
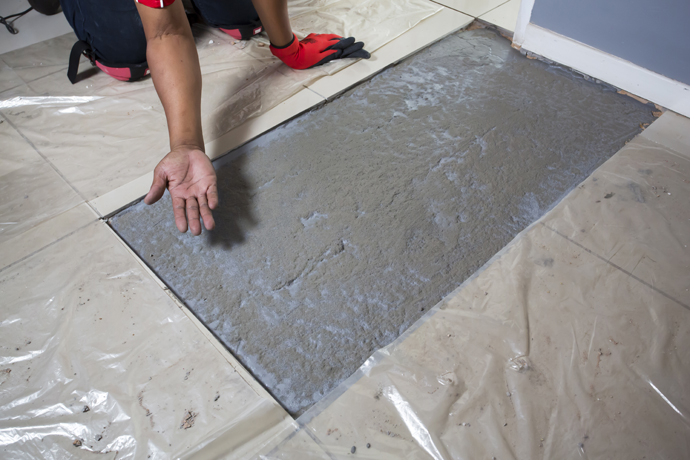
When replacing tiles, it is not always possible to apply the TALFIX directly to the floor, in which case apply the adhesive in a solid bed onto the back of the tile, ensuring complete coverage. Gently trace the notched side of a floor trowel through the adhesive to create ‘ridges’.
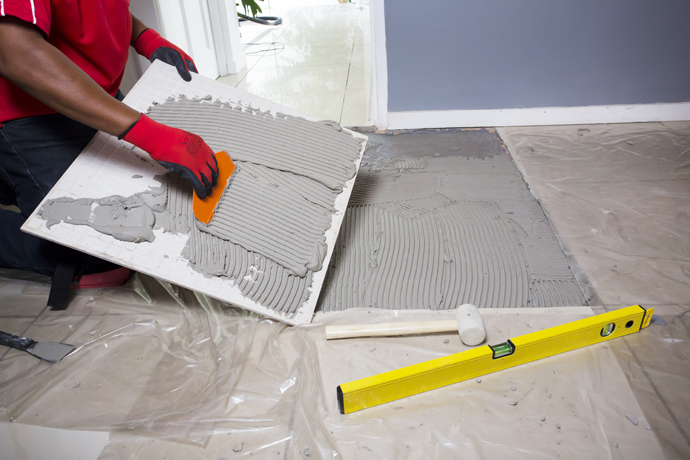
Position the tile in place, pressing down firmly. Use a spirit level to check that the face of the replacement tile is flush with the surrounding tiles.
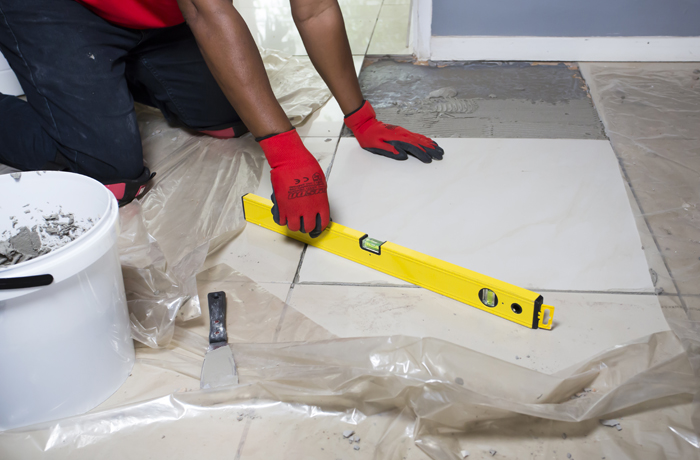
Be sure to scrape any excess adhesive out of the joints between the tiles before the adhesive dries. Allow the adhesive to dry for at least 6-8 hours before grouting.
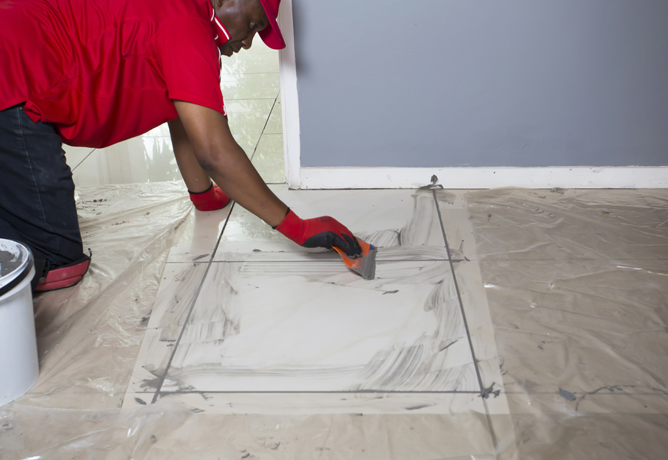
Apply grout to the grout joints with a squeegee.
Leave to set fully before walking over the replacement tile.
All installation materials for this repair are available from leading tiling retailers and hardware stores nationwide.
For more information contact a TAL Expert on 0860 000 TAL (825) or watch our how-to videos on YouTube.
[Back]
blog comments powered by Disqus


