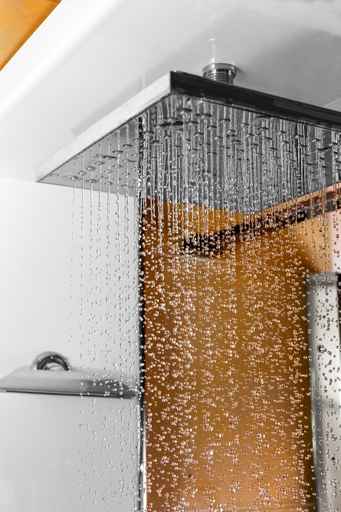
How to waterproof a shower
By Tal | 2014-03-28
Tiling your own shower can give you great satisfaction; we share some handy tips to guide you.

Before embarking on tiling your shower ensure that the shower is waterproof. It is essential to carry out the correct background preparation and to waterproof the shower before tiling can commence. Remember that the tile installation is an aesthetic finish and, while a latex-modified adhesive and grout system will provide a water-resistant finish, it will not be waterproof.
To ensure a waterproof installation it is necessary to waterproof the shower enclosure prior to tiling. If you’re renovating the shower it is recommended to remove the existing tiles and start the waterproofing and tiling process from scratch.
If lifting the tiles is not an option, you can still waterproof the shower if it is showing signs of water damage. See our previous blog post to guide you on how to waterproof a shower without retiling.
Follow this step-by-step guide to waterproof your shower. In the next post we’ll share some handy tips to consider when tiling a shower.
Waterproofing the shower
You will need:
- TAL Floor Primer or TAL Floorkey
- TAL Superflex1
- TAL Superflex1 Membrane
- Block brush
- Roller
- Silicon suitable for the bathroom
Step-by-step guide:
1. Priming:
- The substrate must be in good condition, clean and dry.
- Prime rough, porous surfaces with TAL Floor Primer and smooth, dense surfaces with a TAL Floorkey slurry coat (one part TAL Floorkey to two parts tile adhesive powder or 1.5 parts ordinary Portland cement, by volume).
- Paint the primer onto the surface, including into the floor waste, using a block brush, and allow to dry completely before proceeding.
2. Internal corners and interfaces:
- To allow for movement, apply a 10mm silicone bead in all internal corners and joints around the waste pipe or floor waste and around the tap and rose plumbing.
- Apply the first coat of TAL Superflex1 to these areas. Immediately bed the TAL Superflex1 Membrane, 200mm wide, into the wet Superlex1, ensuring that there are no wrinkles or air bubbles trapped beneath the membrane. The membrane must be pushed into the corners, ensuring that the entire interface is covered with Superflex1 Membrane. Apply a second coat of TAL Superflex1 to completely saturate the membrane before the first coat dries.
3. Floor waste:
- Apply a coat of TAL Superflex1 up the pipe and immediately bed the TAL Superflex1 Membrane into the wet TAL Superflex1. Apply a heavy coat of TAL Superflex1 over the membrane to completely saturate the membrane before the first coat dries.
- For wastes that are flush with the floor, take the application down into and around the waste or use the puddle flange system (check local council regulations).
4. Walls and floors:
- Apply the first coat of TAL Superflex1 over the primed surface. Immediately bed the TAL Superflex1 Membrane into the wet Supeflex1. Ensure that there are no wrinkles or air bubbles trapped beneath the membrane and that the membrane is adhered to the substrate by pressing the membrane with the roller in two different directions. Apply a heavy coat of TAL Superflex1 over the membrane to completely saturate the membrane before the first coat dries.
- Ensure that the main application overlaps the corner and floor waste applications by at least 50mm.
- Shower walls must be waterproofed to full rose height
- Allow the Supeflex1 system to dry completely (at least three days, depending on ambient conditions) before tiling is commenced.
Our products are available at all major tile merchants and home improvement retailers.
[Back]
blog comments powered by Disqus

