
5 KEY CONSIDERATIONS WHEN INSTALLING VINYL FLOORING AND LVTs
A beautiful floor plays a large part in creating a cohesive, well-designed space, but the look and performance of a floor covering is largely dependent on what lies below. When specifying vinyl sheeting, LVTs or PVC-backed vinyl tiles, the multi-level installation system is critical to ensure the desired end-result. We believe that careful attention must therefore be paid to the correct combination of products, to ensure a successful and long-lasting installation.
Level 1 – manage the moisture
The importance of ensuring that the substrate is fully cured and has attained the moisture content stipulated by the manufacturer of the floor covering is key to any installation. Excessive moisture in the substrate, or high moisture vapour emission rates, will most certainly result in an installation failure, for example, vinyl flooring ‘bubbling’ or delaminating from the substrate.
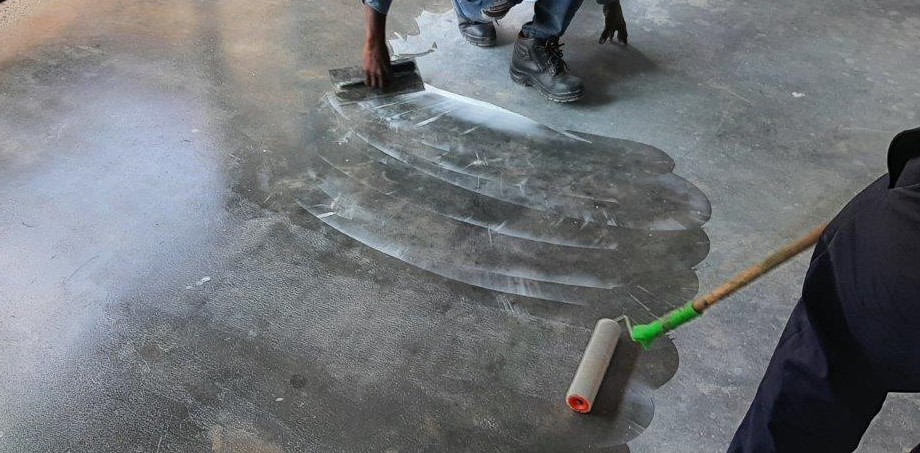
If there is no damp-proof membrane below a surface bed, or if moisture levels do not attain 3% (75% RH) or less, a suitable moisture, or vapour barrier should be installed. This will prevent the passage of water vapour and moisture through the concrete slab into the final floor covering. It may happen that even if the floor appears to be dry at the time of the flooring installation, the moisture content of a concrete substrate may fluctuate according to the season, so it is strongly recommended that TAL Vapourscreen WB be installed as a standard part of the floor installation system.
Level 2 – creating a key
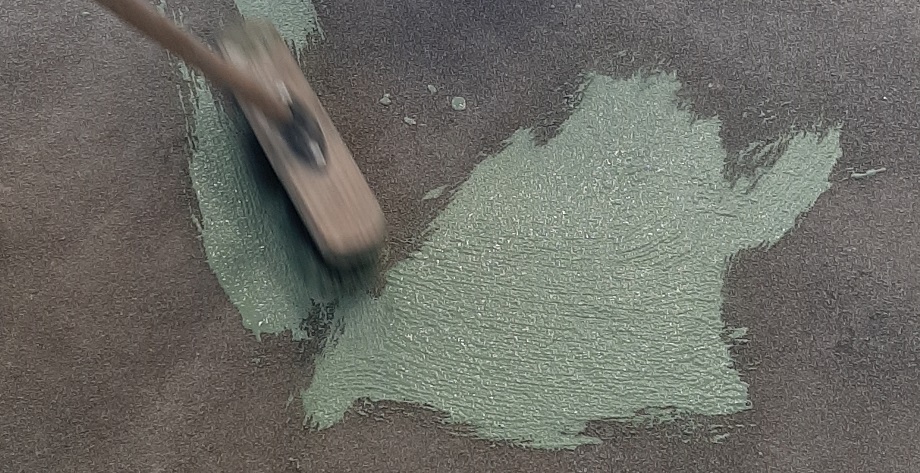
Vinyl, laminates and large format tiles will suffer from surface imperfections or a poor aesthetic appearance if the floor below is not perfectly smooth and level. It is therefore essential to install a levelling compound to ensure an integrally sound, smooth and level substrate for the floor covering. However, as vapour barriers are largely epoxy-based, a priming system is required in order to create a suitable key for the cementitious underlayment, such as TAL Primercoat.
Level 3 – smooth and level
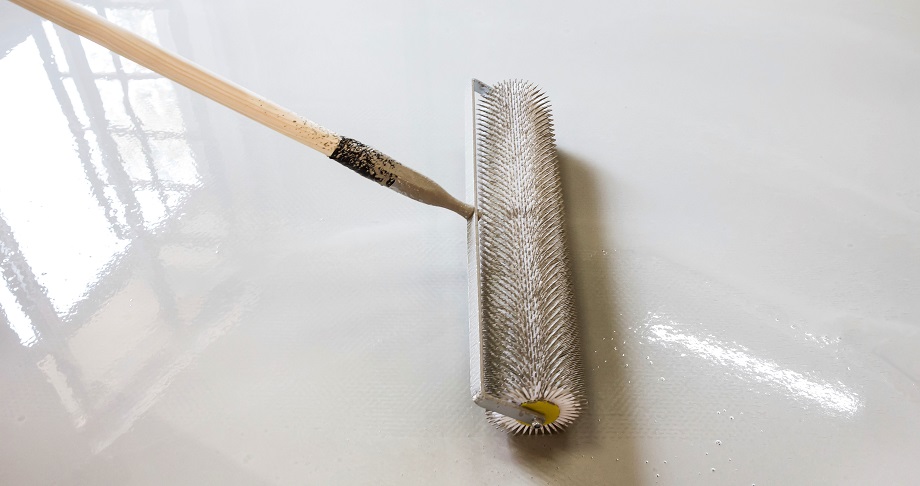
A compatible underlayment can then be installed, creating the perfectly smooth and level surface required to support the final floor covering. A rapid-setting levelling compound such TAL Screedmaster is ideal for fast-tracking the project particularly when refurbishing spaces with hard deadlines. Once the underlayment has cured, a floor level survey and moisture testing must again be carried out to verify that the surface is ready to receive the selected floor covering before installation begins. Always refer to the manufacturer’s recommendations.
Level 4 – sticking to the plan
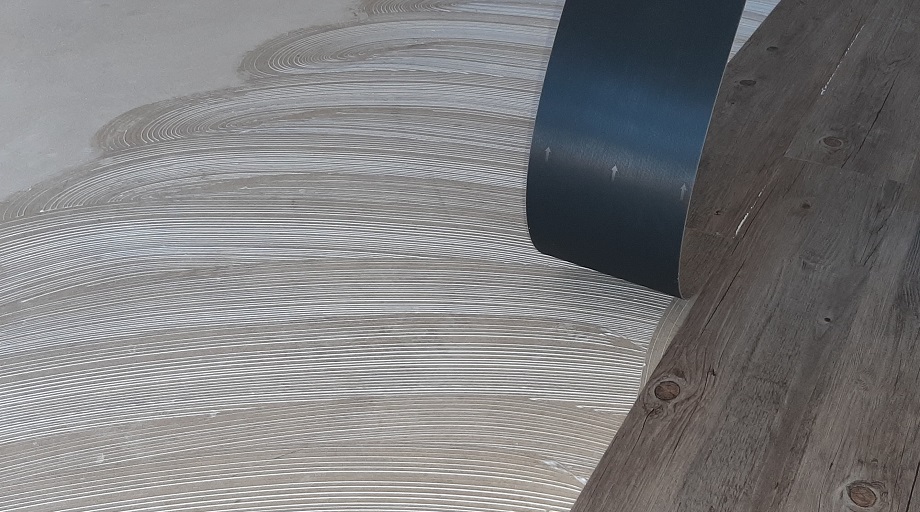
The final level of the system is applying an adhesive to the prepared surface for the LVTs or vinyl tiles, to adhere to. TAL Profix Plus LVT (for LVTs or PVC-backed vinyl tiles) and TAL Profix Plus (for vinyl sheeting and tiles) are solvent-free adhesives that are specifically designed to work with the other elements of this multi-level system in a fully compatible way to deliver a superior end result.
5 - Expansion gaps
Most vinyl flooring calls for allowances to be made for movement in the installation. Correct allowances must be made for expansion around the perimeter of all floors, in doorways, etc. This requires the use of the right tools to successfully install the flooring. Consult with the manufacturer of the vinyl flooring to confirm what is needed.
For further information on preparation of substrates and specifications for multi-level floor covering installations, contact the TAL Technical Advisory Service.
[Back]
blog comments powered by Disqus


