
CALCULATING TILE ADHESIVE
DON’T LET THIS BECOME A STICKY SUBJECT!
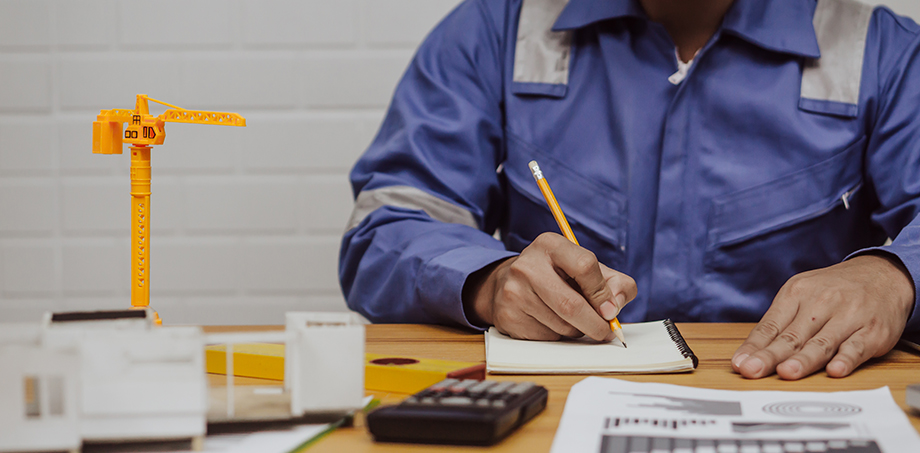
Calculating the amount of tile adhesive required for a project is essential to avoid running out of adhesive or having excess material.
To determine how much tile adhesive you need, follow these steps!
STEP 1: Measure up!
Square meterage
Begin by calculating the amount of tile adhesive you require for the tile installation project.
- Measure the total area (width and length of the floor or wall) in square meters (m²).
- Refer to the instructions on the product bag for the recommended coverage rate to
calculate how many bags (units of adhesive) you will need.
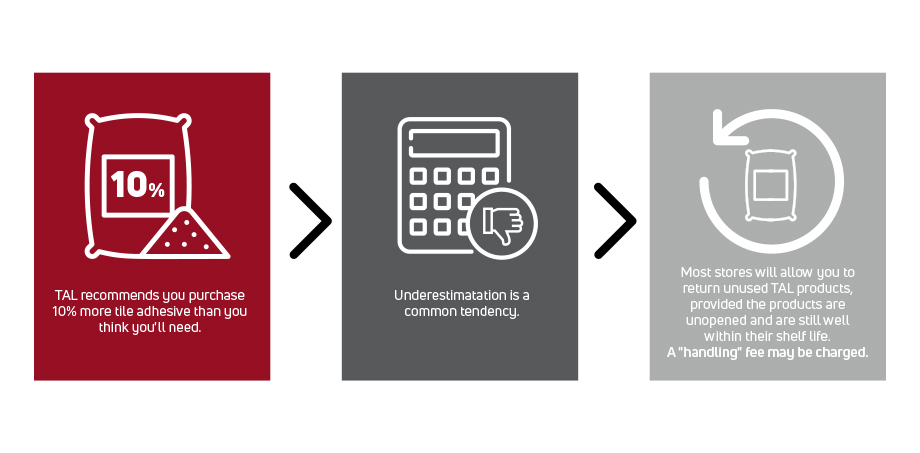
- Add 10% to account for mistakes, waste, or additional tiles.
_________________
IMPORTANT NOTE
- The coverages indicated on the adhesive bags and data sheets are obtained under controlled “ideal” laboratory conditions onto flat/levels surfaces.
- These coverages are intended as a guide for ordering purposes only.
- Site conditions, floor levels, and workmanship affect tile adhesive coverage and quantities – they need to be factored into your calculation!
Now that you’ve estimated the amount of adhesive needed based on the square meterage of the installation area and the manufacturer's recommended coverage rate, proceed to the next step.
STEP 2: Consider other factors!
There are a number of factors that could affect the final calculation of your adhesive requirement:
1. Tile Size:
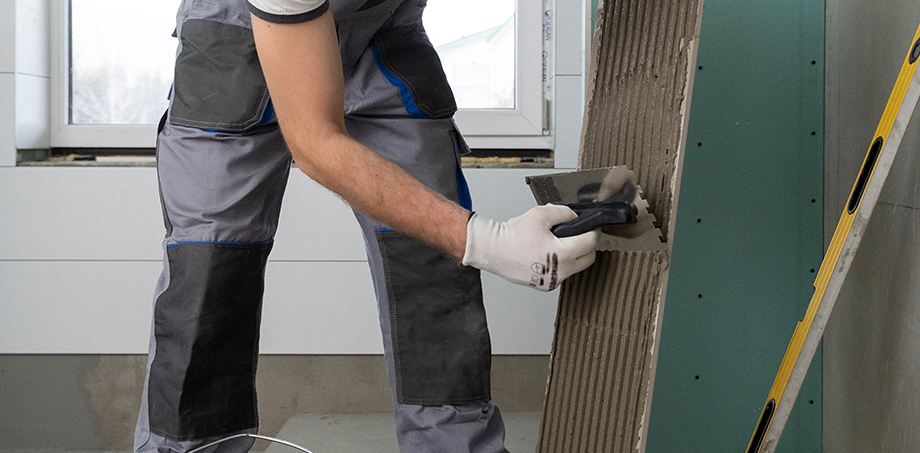
Begin by determining how many tiles you require. if a single tile is larger than 600 x 600mm, it is considered a large format tile. Due to their size, these tiles may require ‘double trowelling’ of the tile adhesive.
_________________
Double trowelling:
This is when the adhesive is applied onto both the substrate and the back of the tiles, using suitable trowels to ensure full contact and a solid bed of adhesive behind each tile.
Factor this into your calculations.
_________________
2. Substrate levels:
Thicker tile adhesive beds, in isolated areas, may be required to compensate for minor variances in floor levels to achieve a level tiled finish. Working with thicker beds of wet adhesive to compensate for uneven floors is more labour intensive, and this higher adhesive consumption has a cost implication on the installation. The maximum adhesive bed thickness as indicated by the adhesive manufacturer should never be exceeded. Should large variations in levels be found due to the condition of the substrate, these should rather be rectified prior to tiling.
3. Other Factors:
Environmental conditions such as temperature, humidity, and drying time influence adhesive coverage. Tile patterns such as diagonal or herringbone layouts may require more adhesive due to the number of cuts and angles. And workmanship also plays an important role in correct adhesive coverage rate and must be factored in before you order the product.
STEP 3: Choose the correct TAL adhesive!
All factors considered, be sure to buy the right adhesive for your project.
Click here for a link to TAL’s adhesive range and a guide on which adhesive to use for specific tile installations.
Always refer to the TAL instructions on the bag!
Bear in mind that tile adhesive coverage rates can vary depending on factors like trowel notch size, read our blog for more on this topic.
For technical advice please contact our experts on 0860 000 825
or email: taltech@tal.co.za
[Back]
blog comments powered by Disqus


